
Bind a Wireless Counter to a Wireless Gateway
You will need to ensure that your wireless sensors are bound to the gateway. This will enable the count from the sensor to be tracked by TilliT. It is recommended that you bind the sensors before mounting, that way the gateway and sensor can be configured with at the same time.
Binding a Wireless Sensor
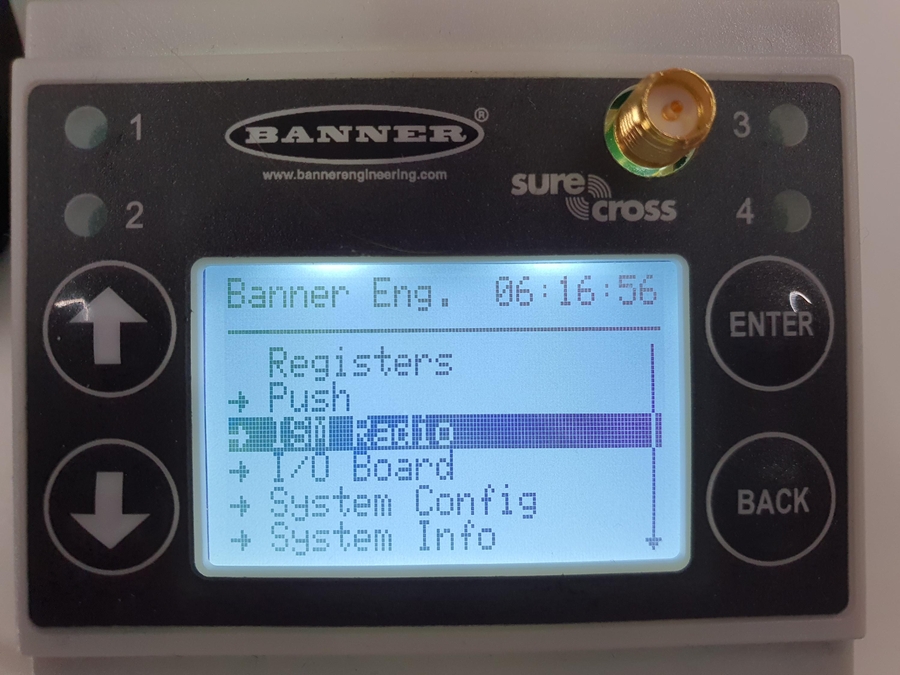
On the gateway, use the up, down, enter and back buttons to navigate the screen.
Navigate to ISM Radio.
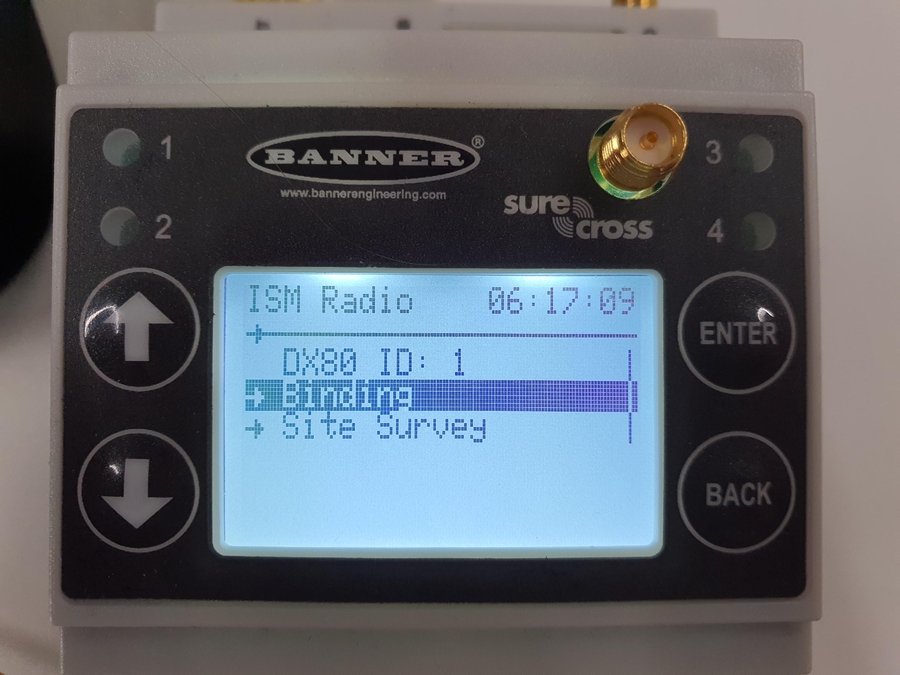
Then to Binding.
Using the up and down arrows, choose the device number you wish to bind to and press enter. (each sensor needs to be on it's own device, use the included label to remember the sensor's node id).
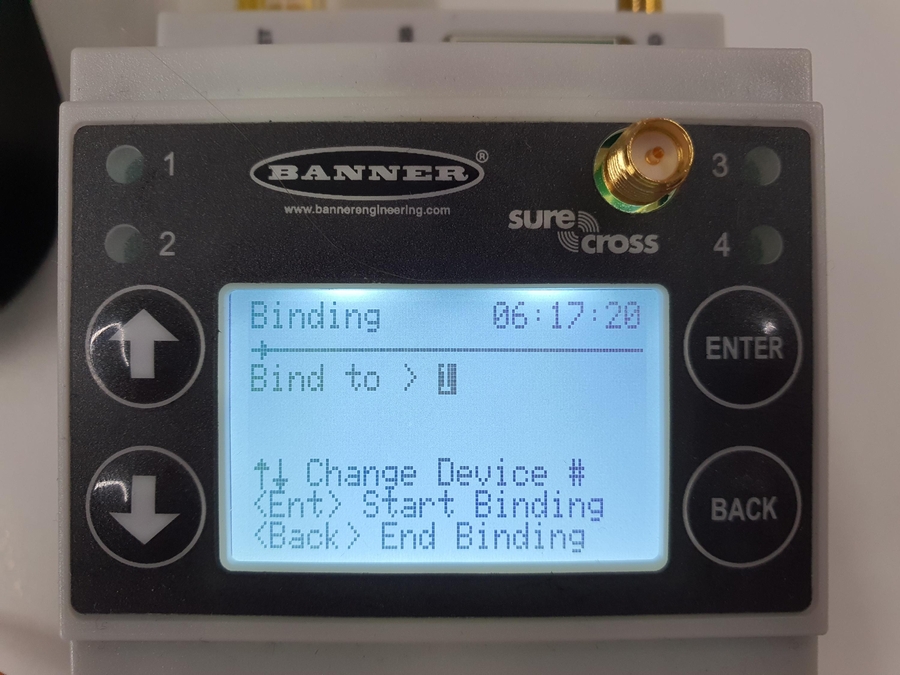
Once the device number has been selected, press enter to enter binding mode.
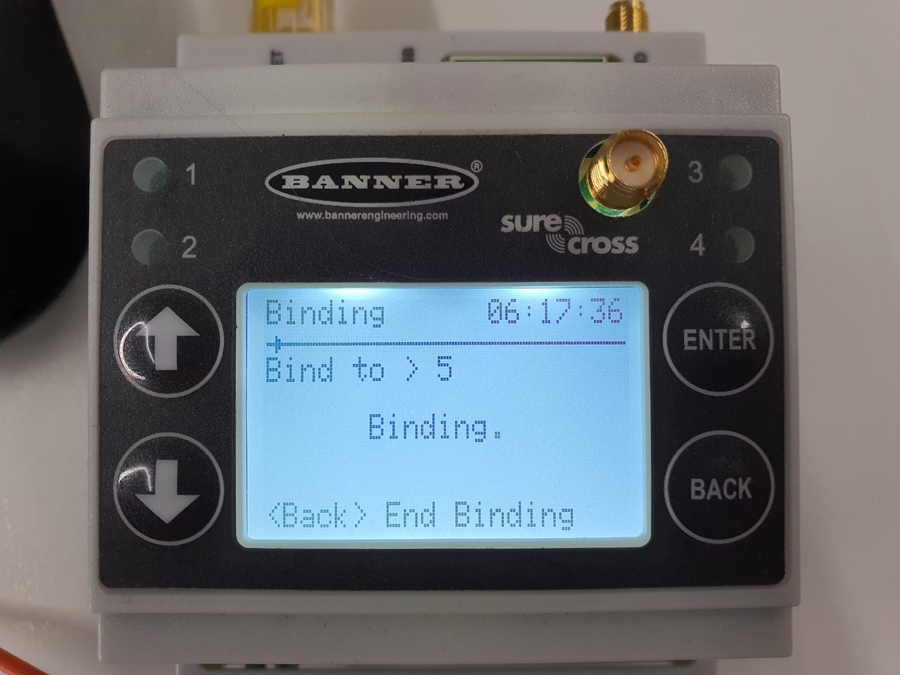
Now open the sensor hatch with a screw driver.
Check that the sensor is on by occasionally seeing a blinking red light. if not turn the gateway on by clicking the push button.

To make the sensor enter binding mode, triple click the push button and observe the red and green led lights alternate. A node is successfully binded once the red and green led flash four times.
Now that the sensor is binded, close the hatch and place the supplied label onto the device with the device number it was binded to. Press the back button on the gateway to exit binding mode. Repeat steps 4-9 for the rest of your sensors.
You can check the connection quality by conducting a site survey, choose ISM Radio -> Site Survey -> device number of sensor and you will see a report of the connection quality, green 100 shows that the connection quality is good and missed 100 will mean no sensor is connected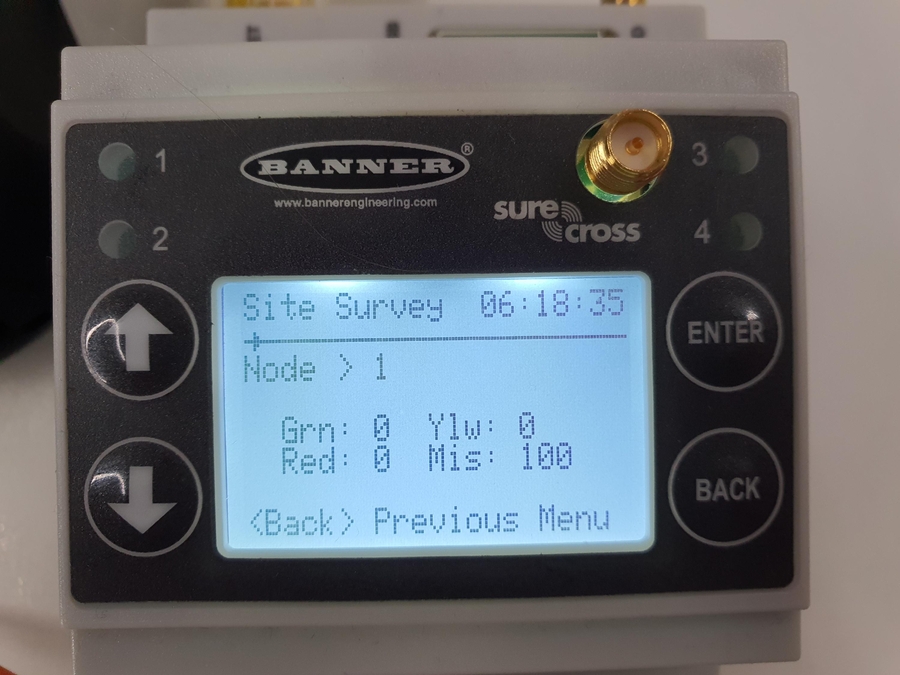
Add the Sensor Count to TilliT
To see the count of this sensor inside TilliT, you will now need to configure TilliT Edge to read this value.
In the TilliT web interface, navigate to Settings -> Edge
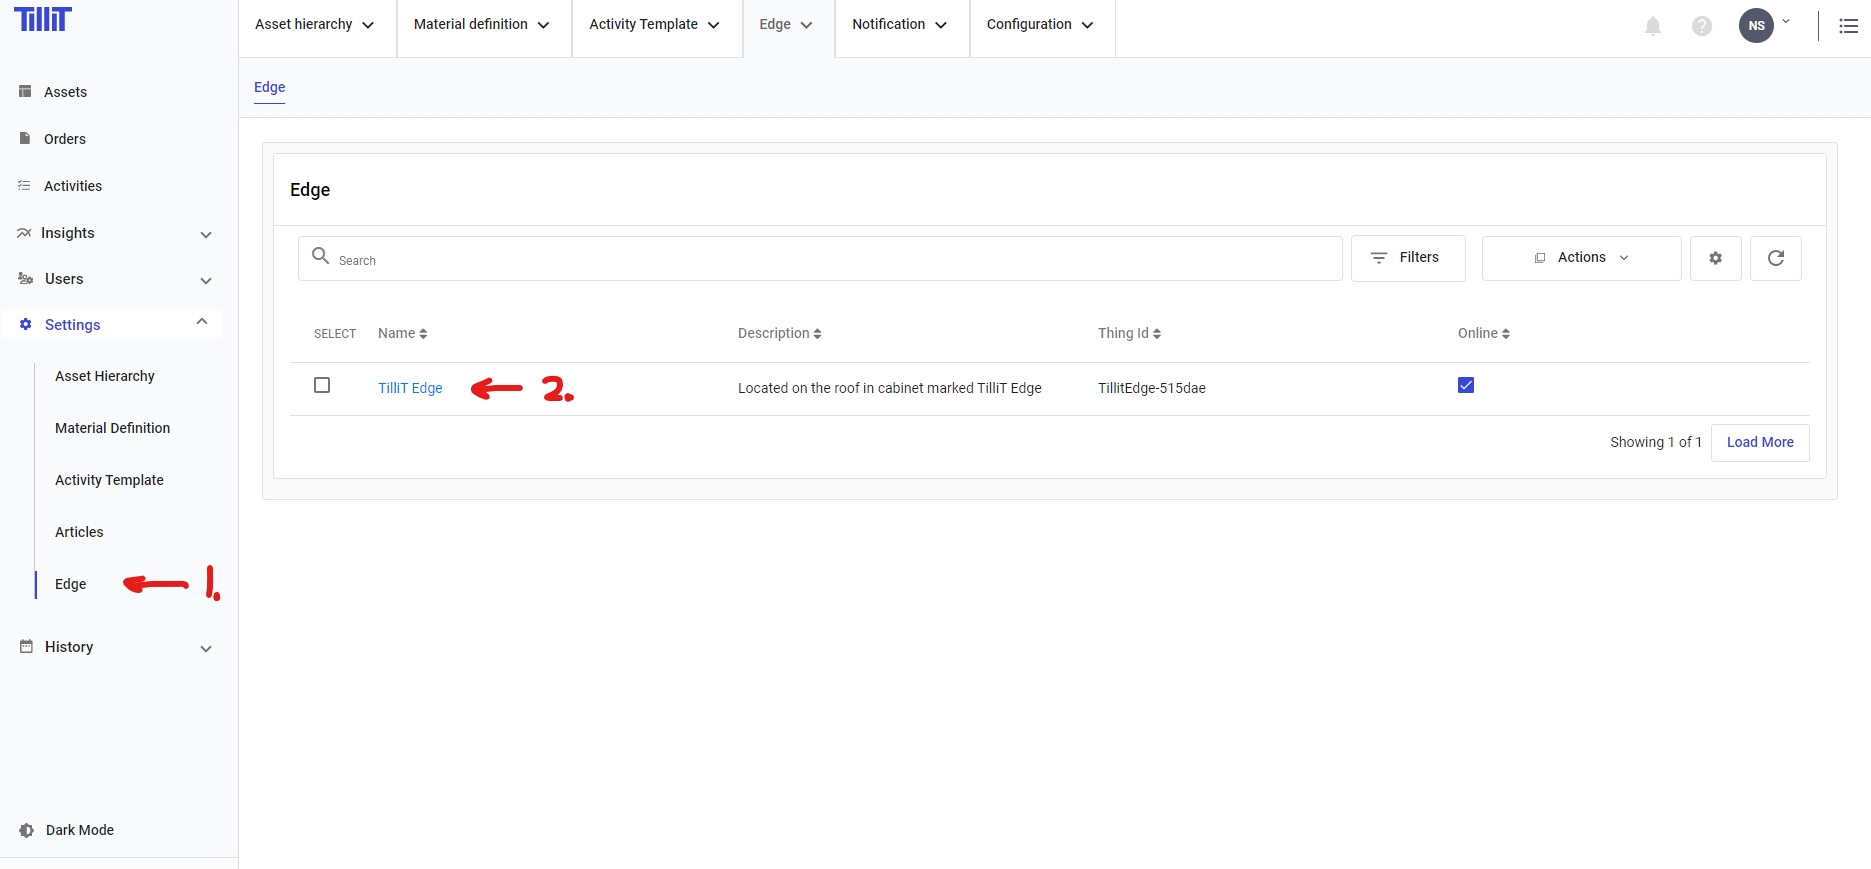
Select your Edge device
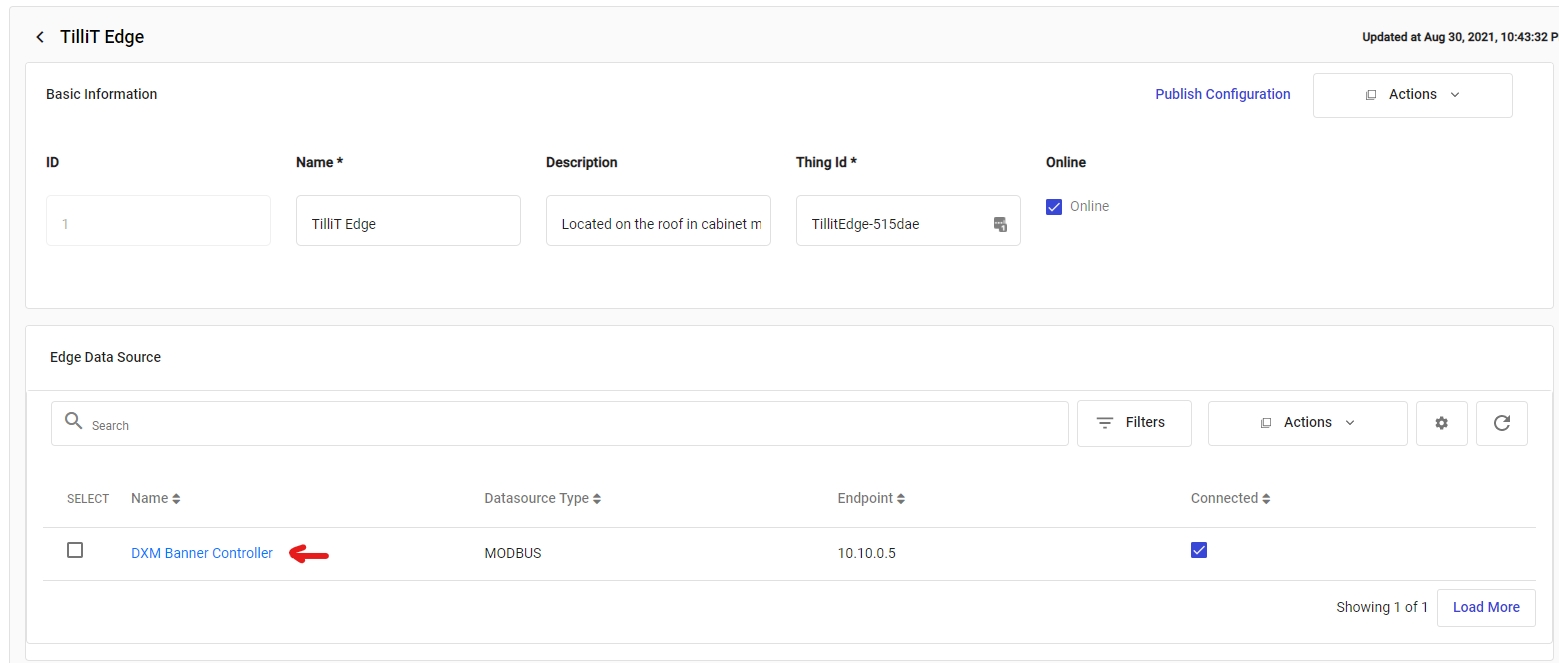
Select the Modbus Data Source that represents your Gateway
Create a new Data Tag with an appropriate name (e.g. Packing Line 2 Count)
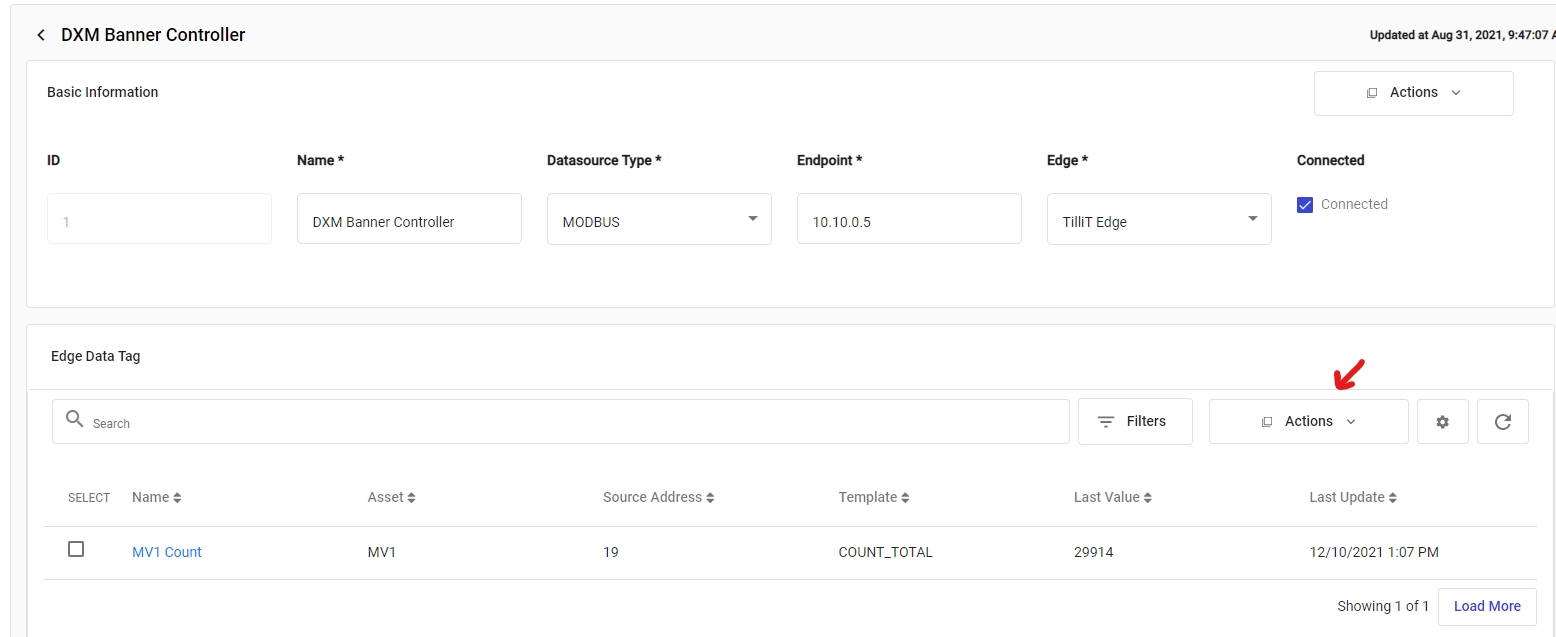
Assign the asset to which the counter will belong to.
The Source Address will be the location of the current count. This location is a number as given by the following equation 3 + (Device# * 16). If you are connecting to the count of a dry contact sensor, then please use 799 + Device# instead.
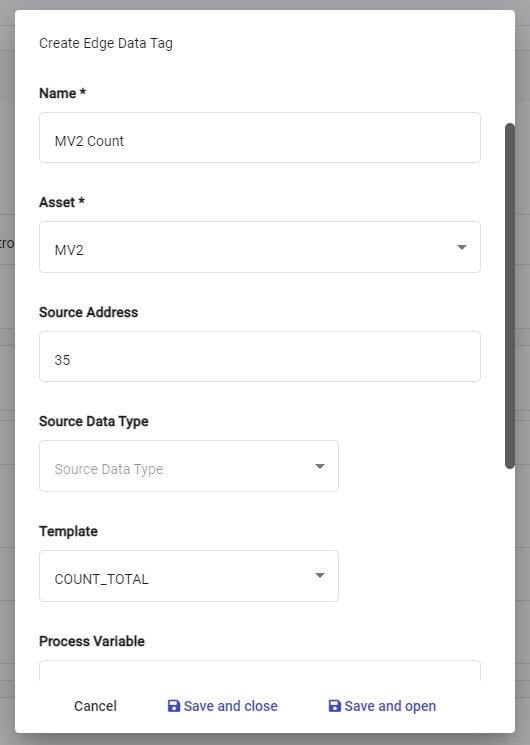
Click Save and close.
Now press back to return to the data source page

Click the Publish Configuration button to update the TilliT Edge
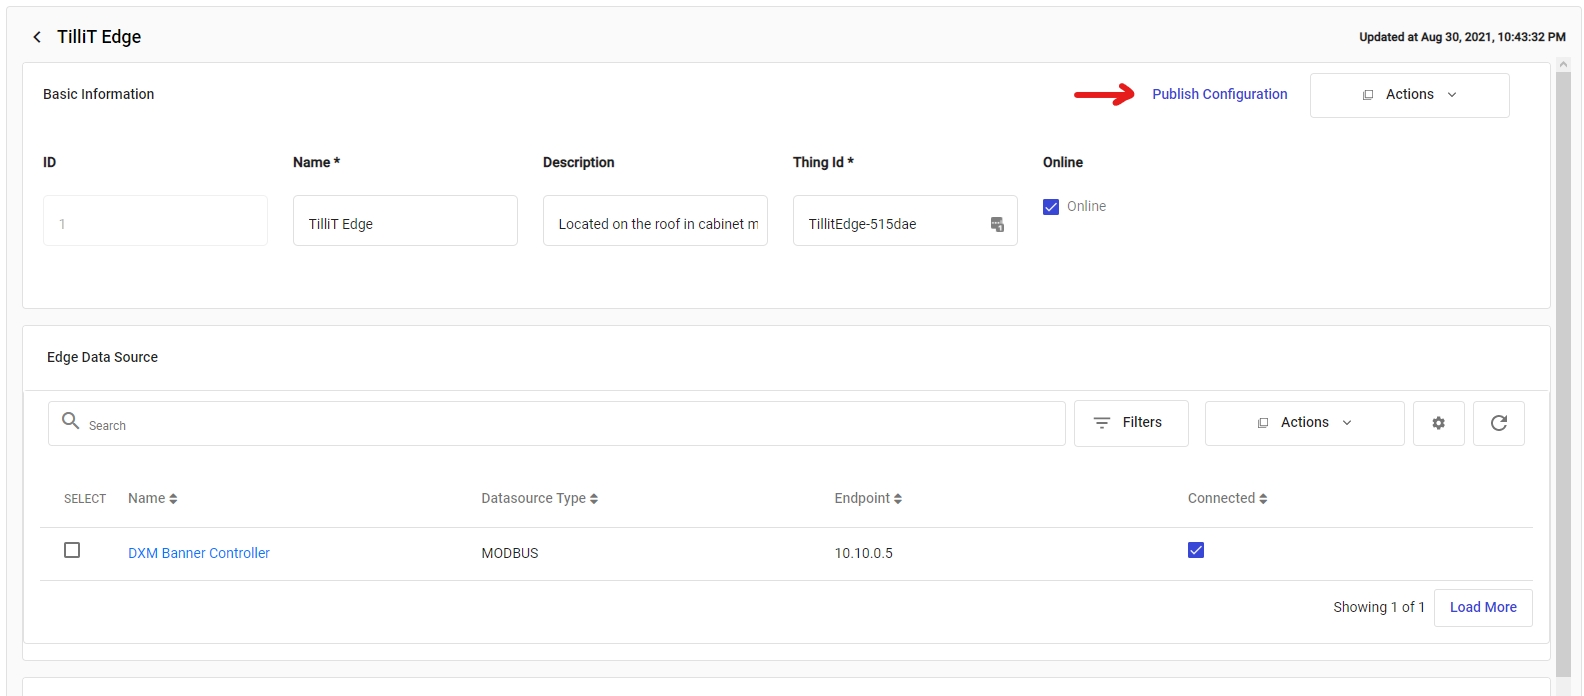
To confirm the count is working, return to the Data Source View and see that the value is populated (This could take up to 60 seconds)

Now the orders running on that asset will have their count update according to the tag value.
Last updated