> For the complete documentation index, see [llms.txt](https://help.tillit.cloud/tillit/llms.txt). Markdown versions of documentation pages are available by appending `.md` to page URLs; this page is available as [Markdown](https://help.tillit.cloud/tillit/knowledge-base/setting-up-tillit/integrations/wire-flow/triggers-and-execution.md).
# Triggers & Execution
How to trigger Wire Flow workflows — manually from the editor, via REST API or webhook, via MQTT, or by uploading a file.
Workflows can be started in four ways.
## Manual (from the Editor)
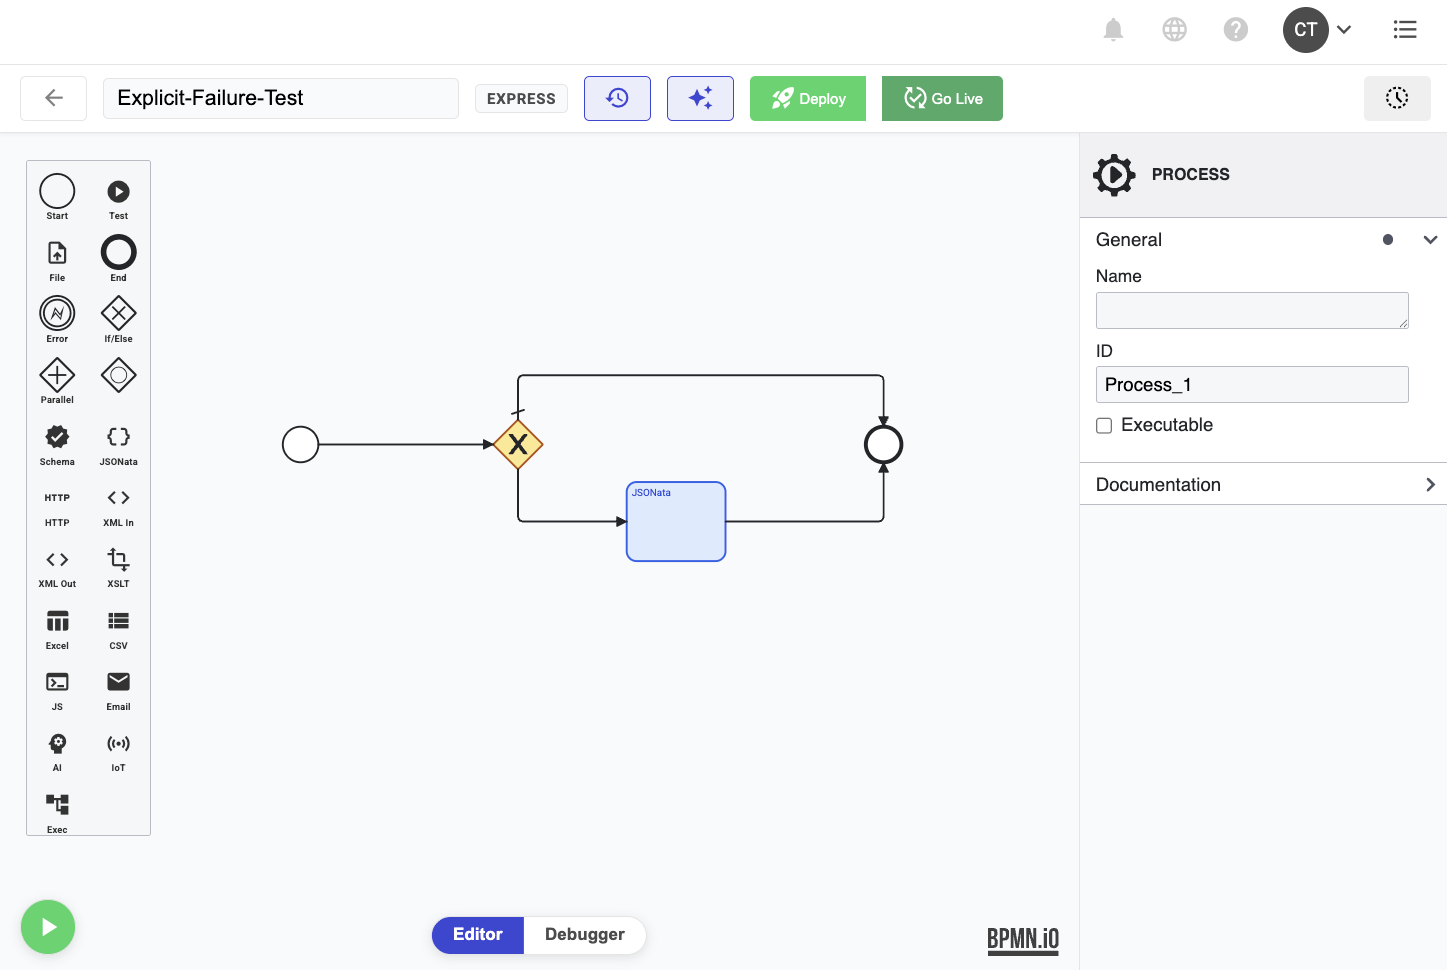
1. Open a deployed workflow.
2. Click the ***green play button*** on the bottom left of the canvas.
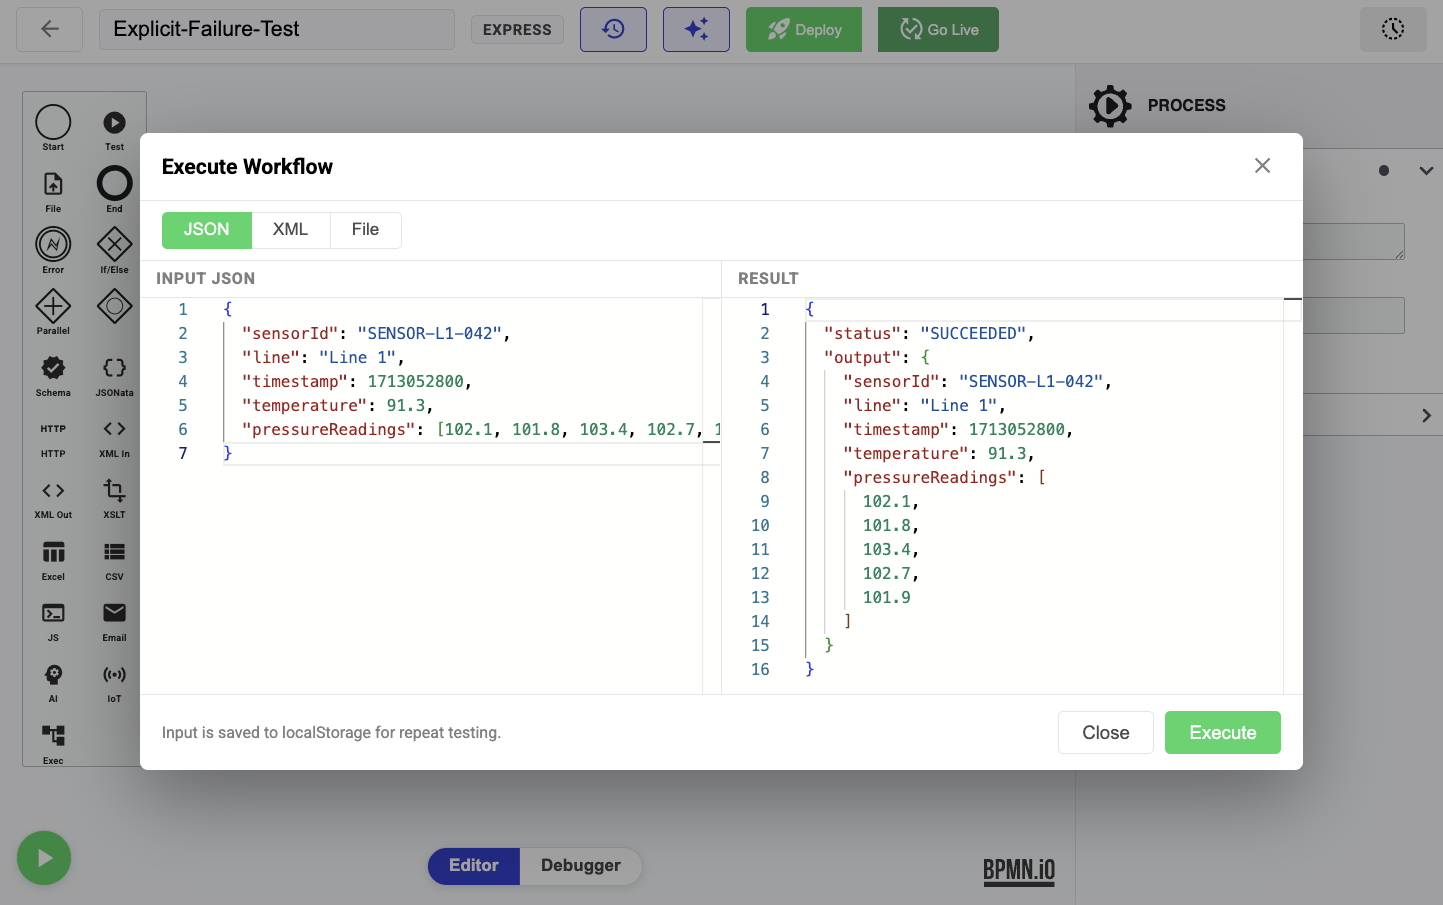
3. Enter a JSON, XML, or file input payload.
4. Click ***Execute***.
{% hint style="info" %}
Your input is saved automatically for repeat testing.
{% endhint %}
## Webhook / REST API
Any system can trigger a workflow via HTTP POST:
```
POST {tillitURL}/wire-flow/api/invoke/{workflowId}
```
Requires a valid Bearer token (the same session token used by the Wire Flow app):
```bash
curl -X POST https://bottling.tillit-sandbox.cloud/wire-flow/api/invoke/wf-abc123 \
-H "Authorization: Bearer " \
-H "Content-Type: application/json" \
-d '{"orderNumber": "ORD-001"}'
```
The request body becomes the workflow input (max 256 KB). The invoke URL is shown in the editor toolbar and in the Start Trigger properties panel.
## MQTT Trigger
Publish a message to an IoT Core topic to trigger a workflow automatically:
```
{env}_wire_flow/{tenant}/{workflowId}
```
Example: `stage_wire_flow/bottling/order-processor`
The full topic for your workflow is shown in the **Start Trigger** properties panel.
To publish a message, use an MQTT client (e.g., MQTT Explorer) with the certificates downloaded from TilliT. Connect to the TilliT IoT endpoint and publish to the topic shown in the Start Trigger properties panel.
{% hint style="info" %}
Failed MQTT triggers are queued for review. Common reasons: workflow not deployed, invalid workflow ID.
{% endhint %}
## Ignition Script Trigger
The TilliT Ignition Module includes a `system.tillit.triggerWireFlow` scripting function that publishes to the Wire Flow MQTT topic without needing to construct topics manually or call the REST API.
```python
system.tillit.triggerWireFlow(flowId, payload)
```
| Parameter | Type | Description |
| ----------- | -------------- | ---------------------------------------------------------------- |
| **flowId** | String | The workflow ID (shown in the Start Trigger properties panel) |
| **payload** | String or dict | Published as-is if a string; serialised to JSON if a dict/object |
The function is available in Gateway, Client, and Designer scopes and works in both Ignition 8.1 and 8.3.
**Example:**
```python
system.tillit.triggerWireFlow("agv_next_step", {"asset": 12, "action": "next"})
```
This publishes to `$aws/rules/{env}_wire_flow/{tenant}/agv_next_step` with body `{"asset":12,"action":"next"}`.
{% hint style="info" %}
Authentication is handled automatically using the TilliT user configured in the Ignition Module settings — no token management required.
{% endhint %}
## File Upload Trigger
For workflows that process files (CSV, Excel, XML):
1. Drag a ***File Trigger*** node onto the canvas (blue upload icon).
2. Click the upload arrow on the node, or click ***Upload & Execute*** in the Properties Panel.
3. Select a file (`.csv`, `.xlsx`, `.xls`, `.xml`, `.json`).
4. The workflow auto-deploys, the file is uploaded, and execution starts.
The workflow receives a file reference object as its input:
```json
{
"s3Bucket": "sandbox-step-functions",
"s3Key": "bottling/uploads/wf-abc123/orders.csv",
"fileName": "orders.csv",
"contentType": "text/csv"
}
```
This is the expected input format for the CSV Parser, Excel Parser, and XML Parser tasks.
{% hint style="warning" %}
File size limit: **50 MB**.
{% endhint %}