> For the complete documentation index, see [llms.txt](https://help.tillit.cloud/tillit/llms.txt). Markdown versions of documentation pages are available by appending `.md` to page URLs; this page is available as [Markdown](https://help.tillit.cloud/tillit/knowledge-base/setting-up-tillit/integrations/wire-flow/getting-started.md).
# Getting Started
How to access Wire Flow and create your first workflow in TilliT.
This page walks you through accessing Wire Flow and building your first workflow.
## Accessing Wire Flow
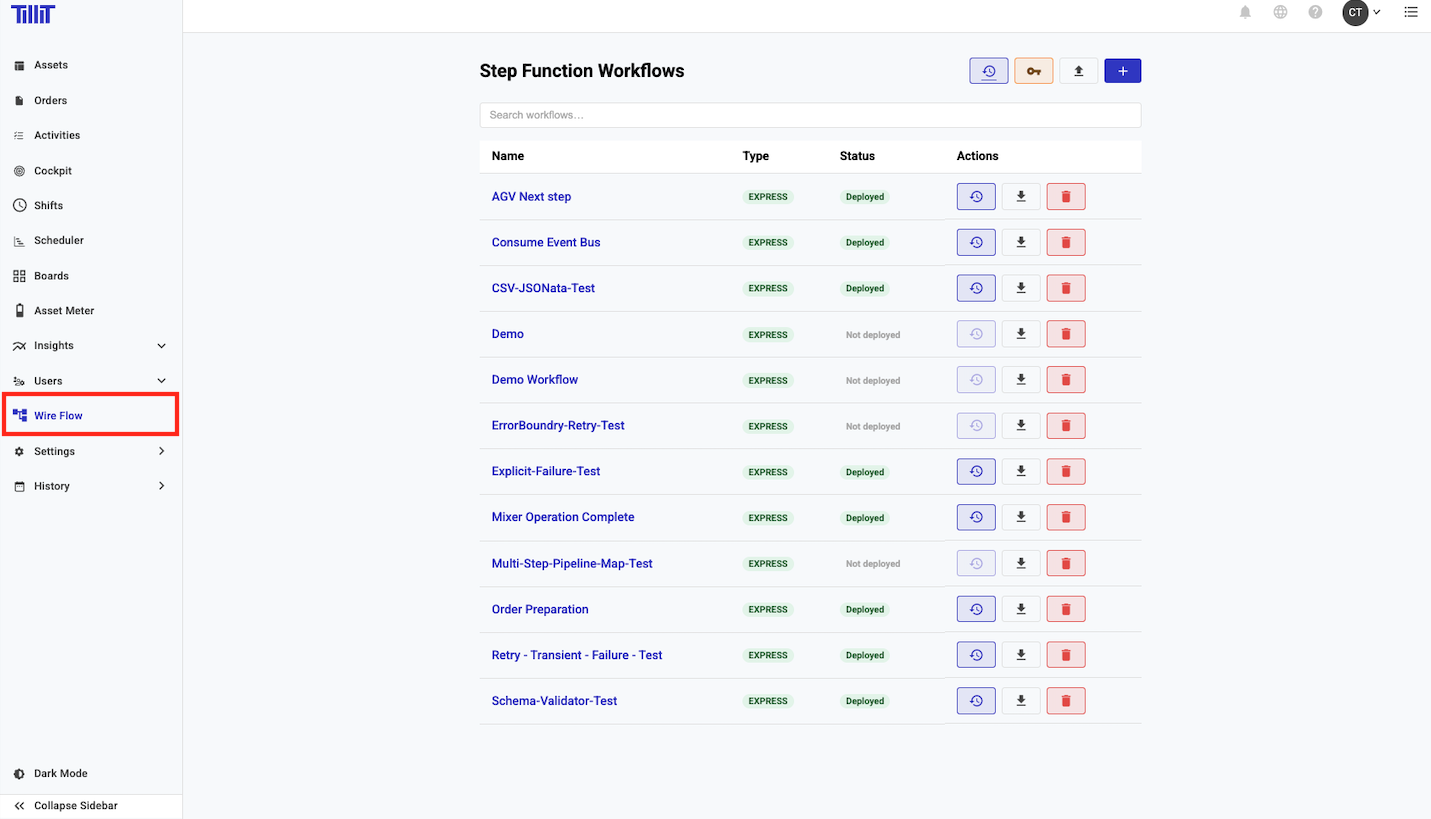
1. Log into TilliT.
2. Click ***Wire Flow*** in the side menu.
## Creating Your First Workflow
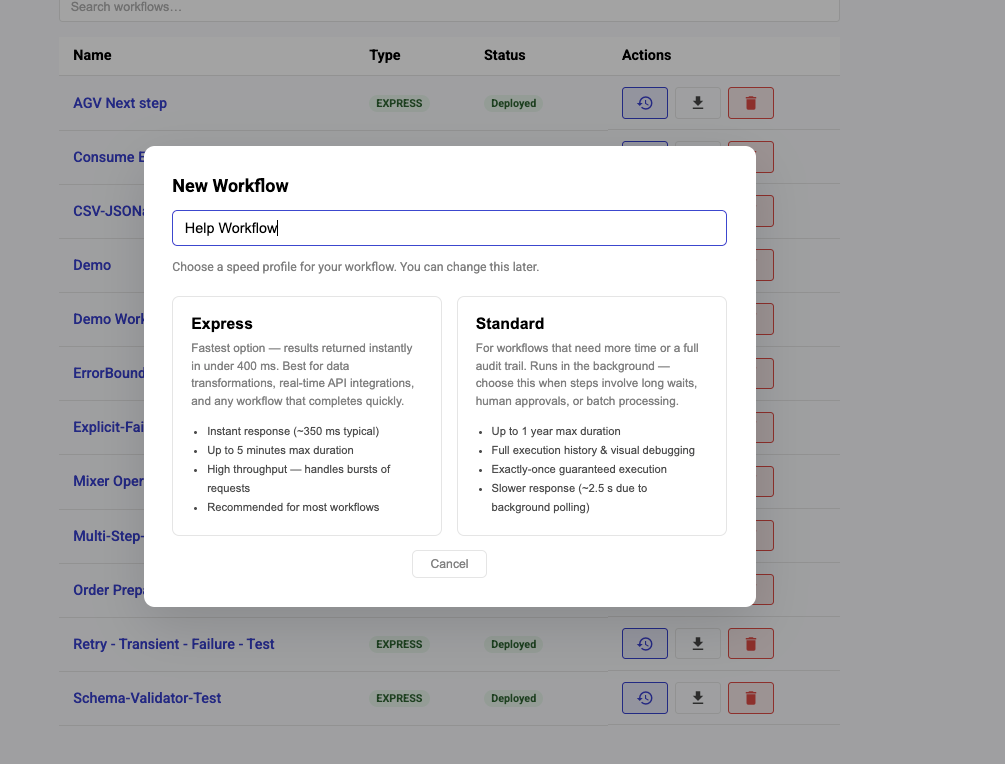
1. On the **Workflow List** page, click ***+ New Workflow***.
2. Enter a name and choose **EXPRESS** or **STANDARD**.
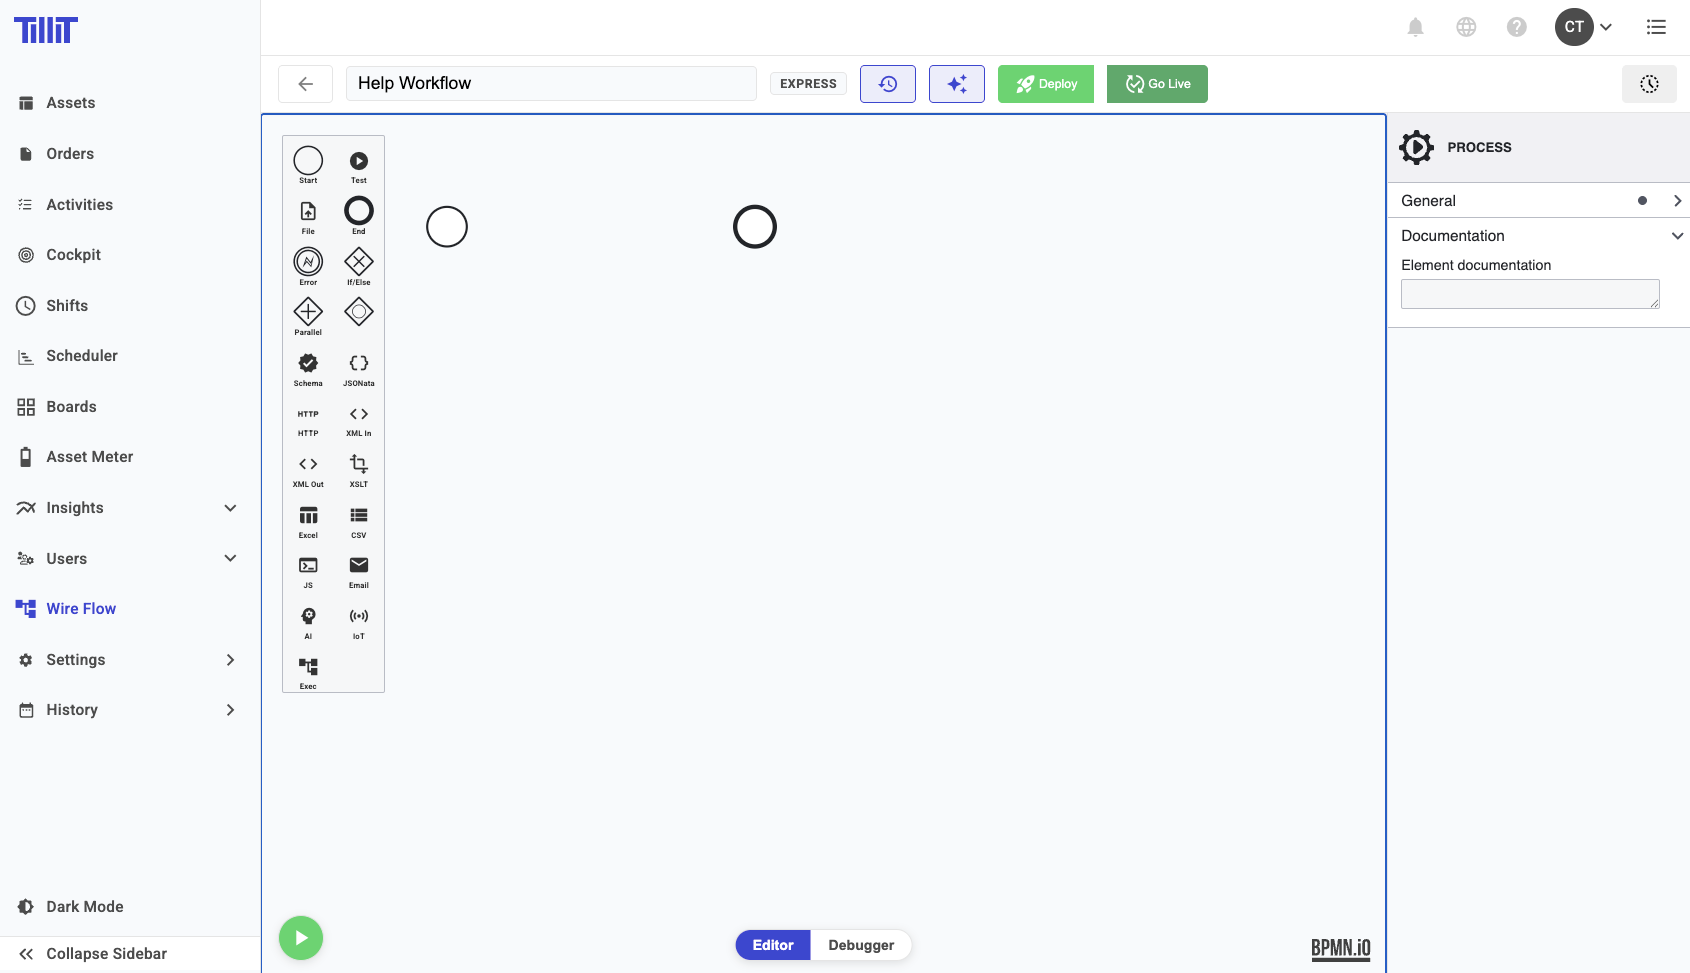
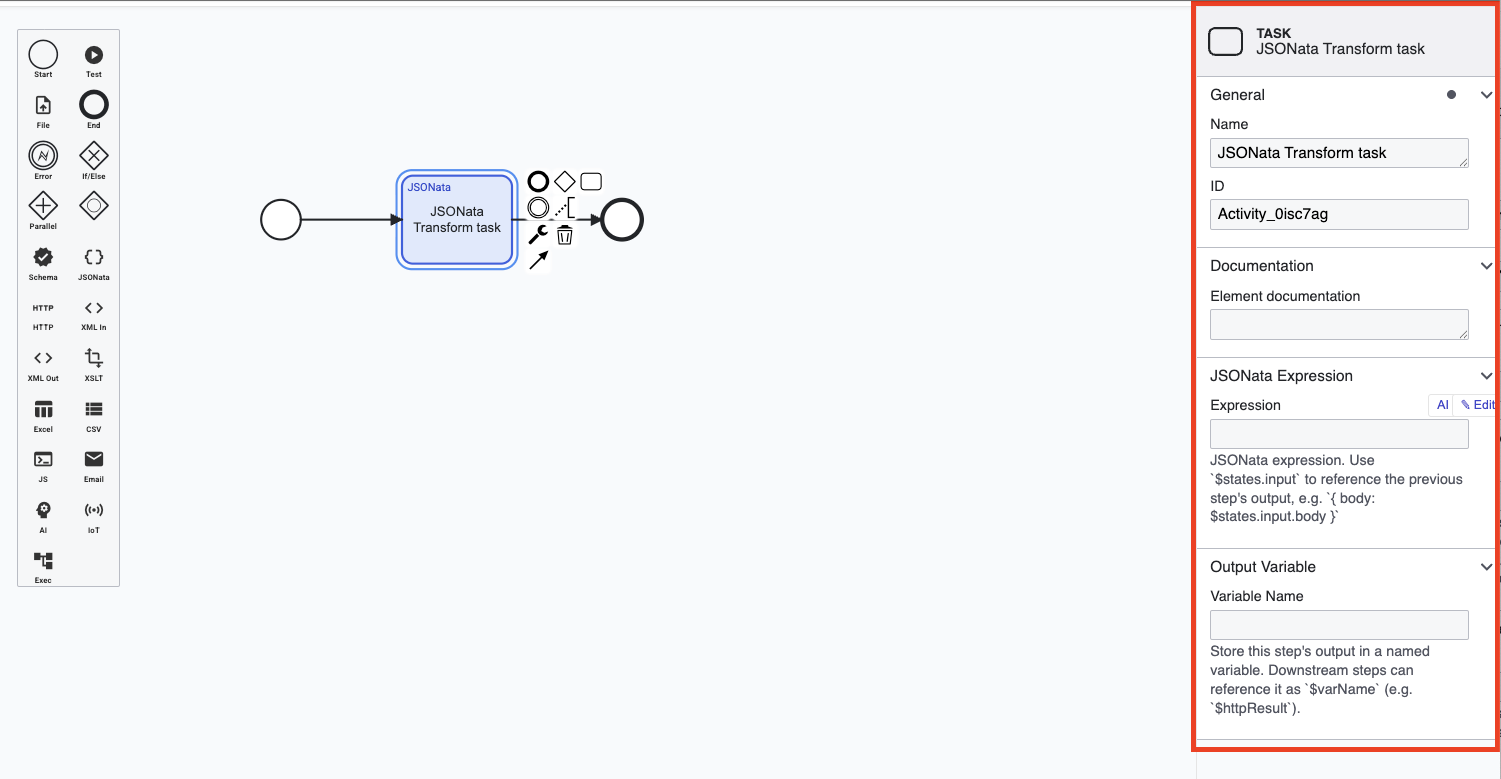
3. The editor opens with an empty canvas containing two nodes — Start and End.
| Editor Area | Purpose |
| -------------------- | ---------------------------------------------------------- |
| **Toolbar** | Rename workflow, toggle type, view executions, deploy |
| **Canvas** | Drag nodes from the left palette, connect them with arrows |
| **Properties Panel** | Configure the selected node's settings |
{% hint style="info" %}
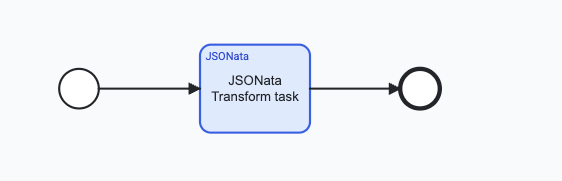
The minimum valid workflow is: **Start Event → Task → End Event**
{% endhint %}
## Basic Steps
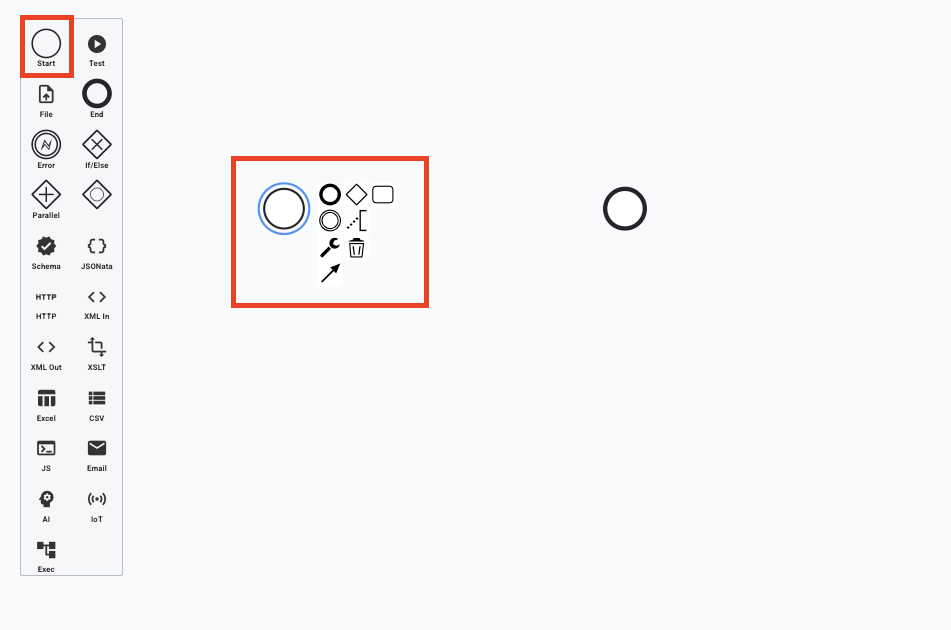
1. A **Start Trigger** node is already on the canvas when you open a new workflow.
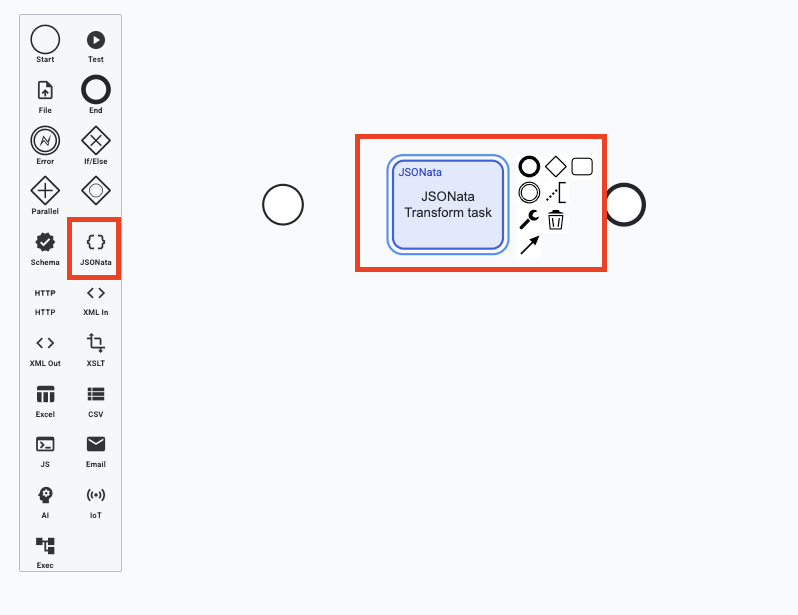
2. Drag a task node from the left palette onto the canvas (e.g., ***JSONata Transform***).
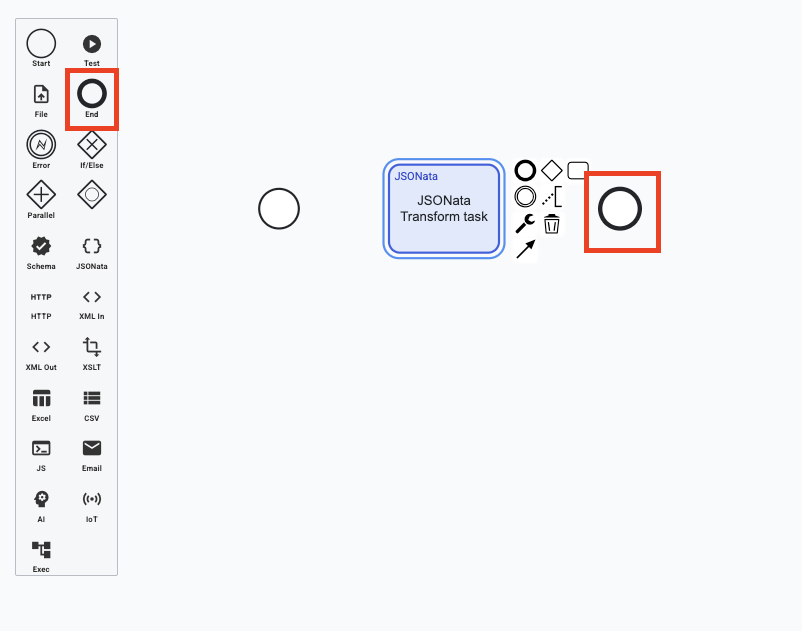
3. Drag an ***End Event*** node onto the canvas.
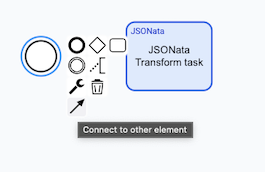
4. Connect the nodes: hover over a node until connection points appear on its edges, then drag from one node to the next.
5. Click a node to configure it in the **Properties Panel**. For example, enter a JSONata expression.
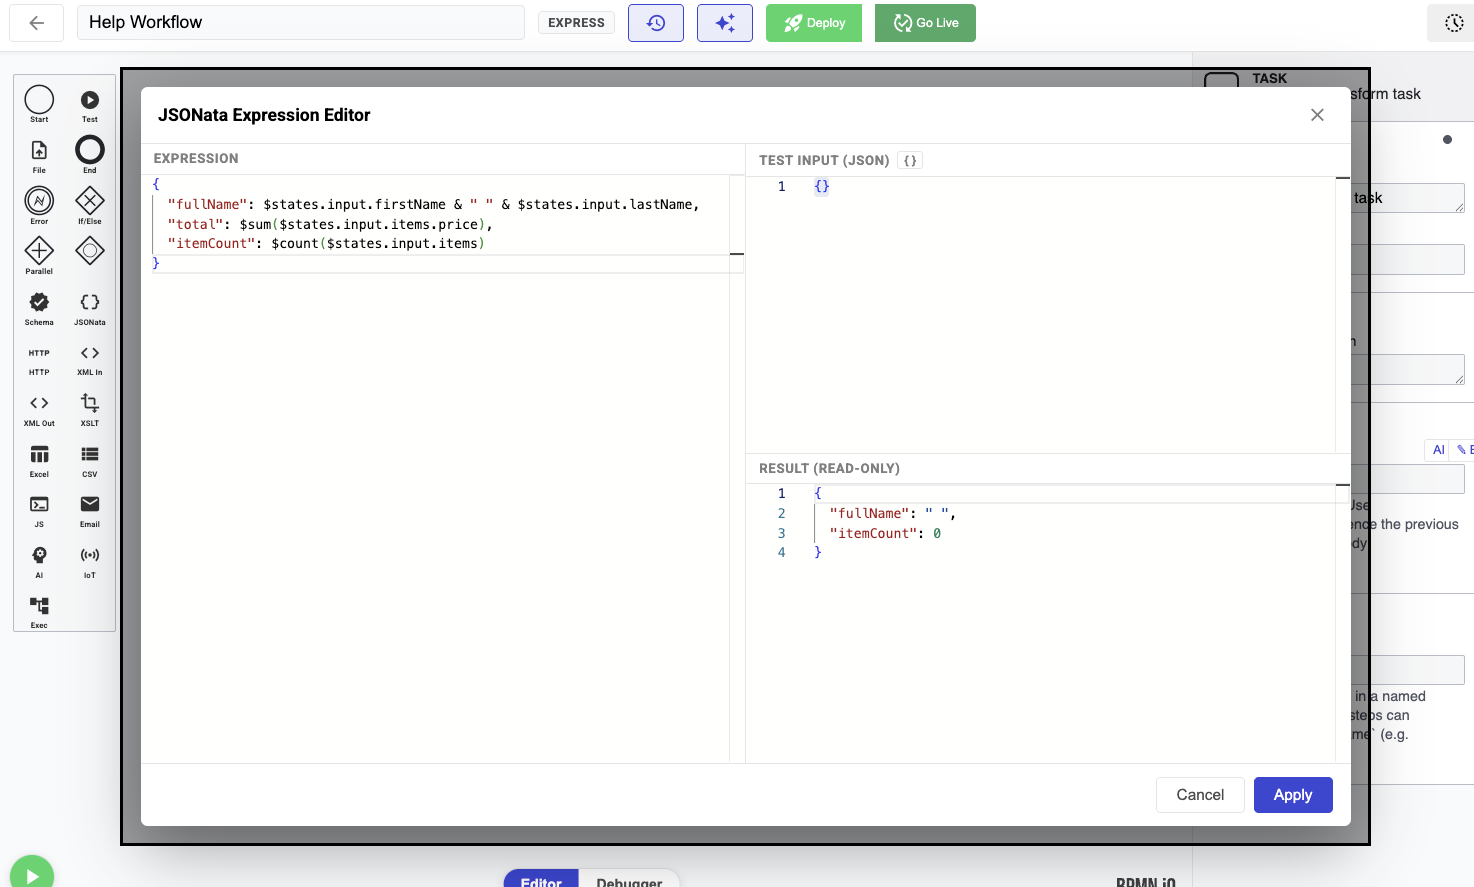
6. To test the expression, click ***Edit*** to open a full code editor with live preview.
7. Click ***Deploy*** and ***Go Live*** on the toolbar when ready.