> For the complete documentation index, see [llms.txt](https://help.tillit.cloud/tillit/llms.txt). Markdown versions of documentation pages are available by appending `.md` to page URLs; this page is available as [Markdown](https://help.tillit.cloud/tillit/knowledge-base/setting-up-tillit/integrations/wire-flow/editor-canvas.md).
# Editor Canvas
An overview of the Wire Flow editor canvas, including BPMN elements, connecting nodes, and keyboard shortcuts.
Wire Flow uses **BPMN** (Business Process Model and Notation), a standard diagram notation, to represent workflows. If you have used tools like n8n, Lucidchart, or any flowchart tool, the concepts will feel familiar.
## Elements
| Element | Appearance | Purpose |
| ------------------ | ----------------------------- | --------------------------------------------------------- |
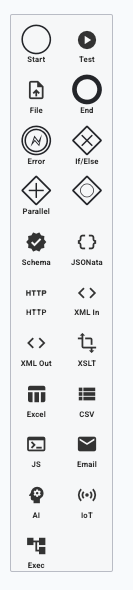
| **Start Event** | Thinner circle | Entry point — where the workflow begins |
| **Task** | Rectangle with an icon | A unit of work (transform, HTTP call, parse a file, etc.) |
| **Gateway** | Diamond shape | A decision point — routes flow based on conditions |
| **End Event** | Thicker circle | Exit point — where the workflow finishes |
| **Error Boundary** | Small circle on a task's edge | Catches errors from a specific task |
| **Sequence Flow** | Arrow between nodes | The path execution follows from one node to the next |
## Connecting Nodes
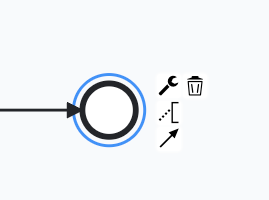
1. Hover over a node — connection point options appear on its edges.
2. Click and drag from a connection point to another node.
3. Release to create an arrow (sequence flow).
## Selecting and Configuring Nodes
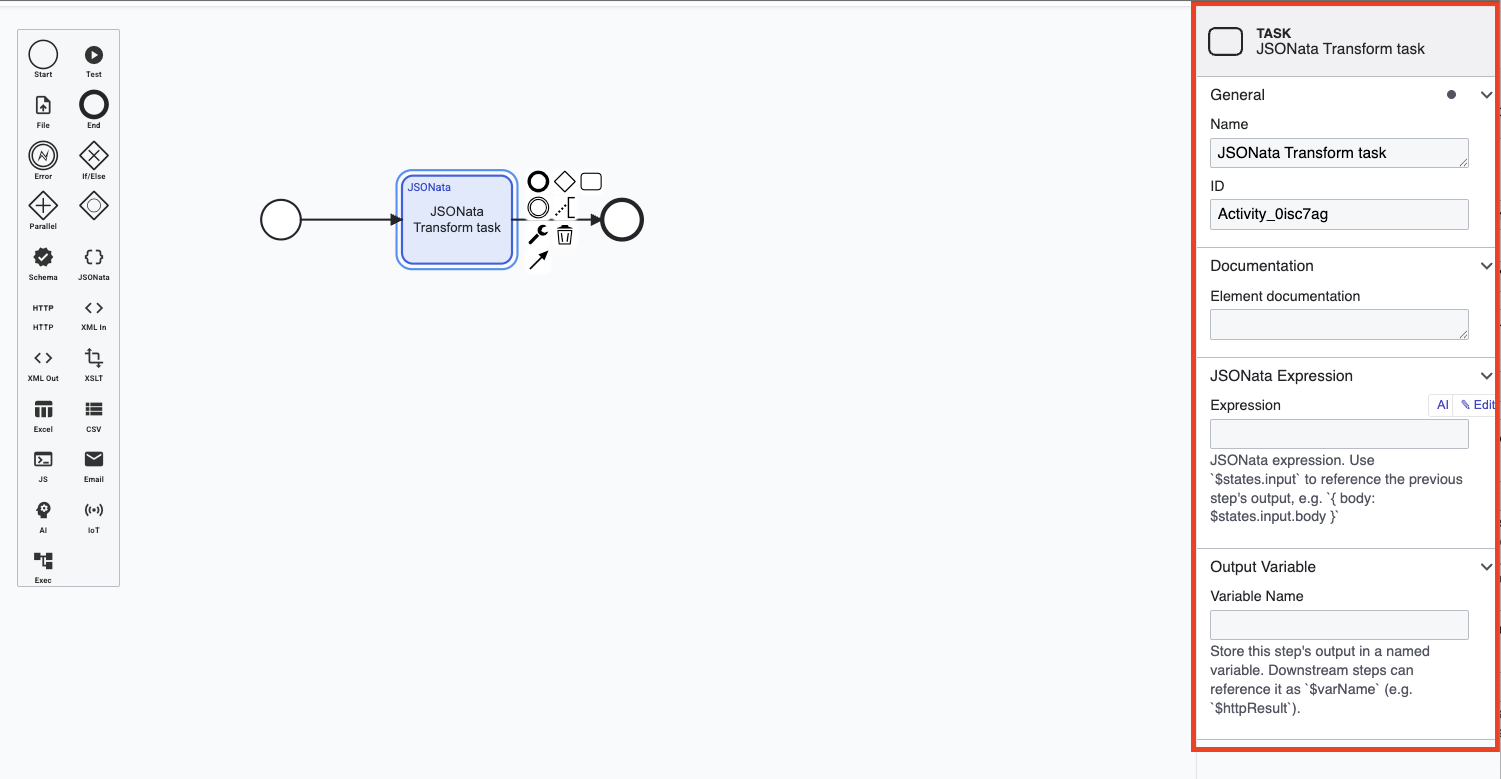
Click any node to select it. The **Properties Panel** on the right updates to show that node's configuration fields.
Click on empty canvas space to deselect.
## Keyboard Shortcuts
| Action | How |
| ------------- | --------------------------------------------- |
| Pan canvas | Click + drag on empty space |
| Zoom | Ctrl/Cmd + Mouse wheel |
| Select node | Click |
| Delete node | Select → Delete or Backspace |
| Connect nodes | Drag from a connection point on a node's edge |
| Multi-select | Shift + click |