> For the complete documentation index, see [llms.txt](https://help.tillit.cloud/tillit/llms.txt). Markdown versions of documentation pages are available by appending `.md` to page URLs; this page is available as [Markdown](https://help.tillit.cloud/tillit/knowledge-base/scheduler/planned-orders.md).
# Planned Orders
Create and manage production orders for scheduling.
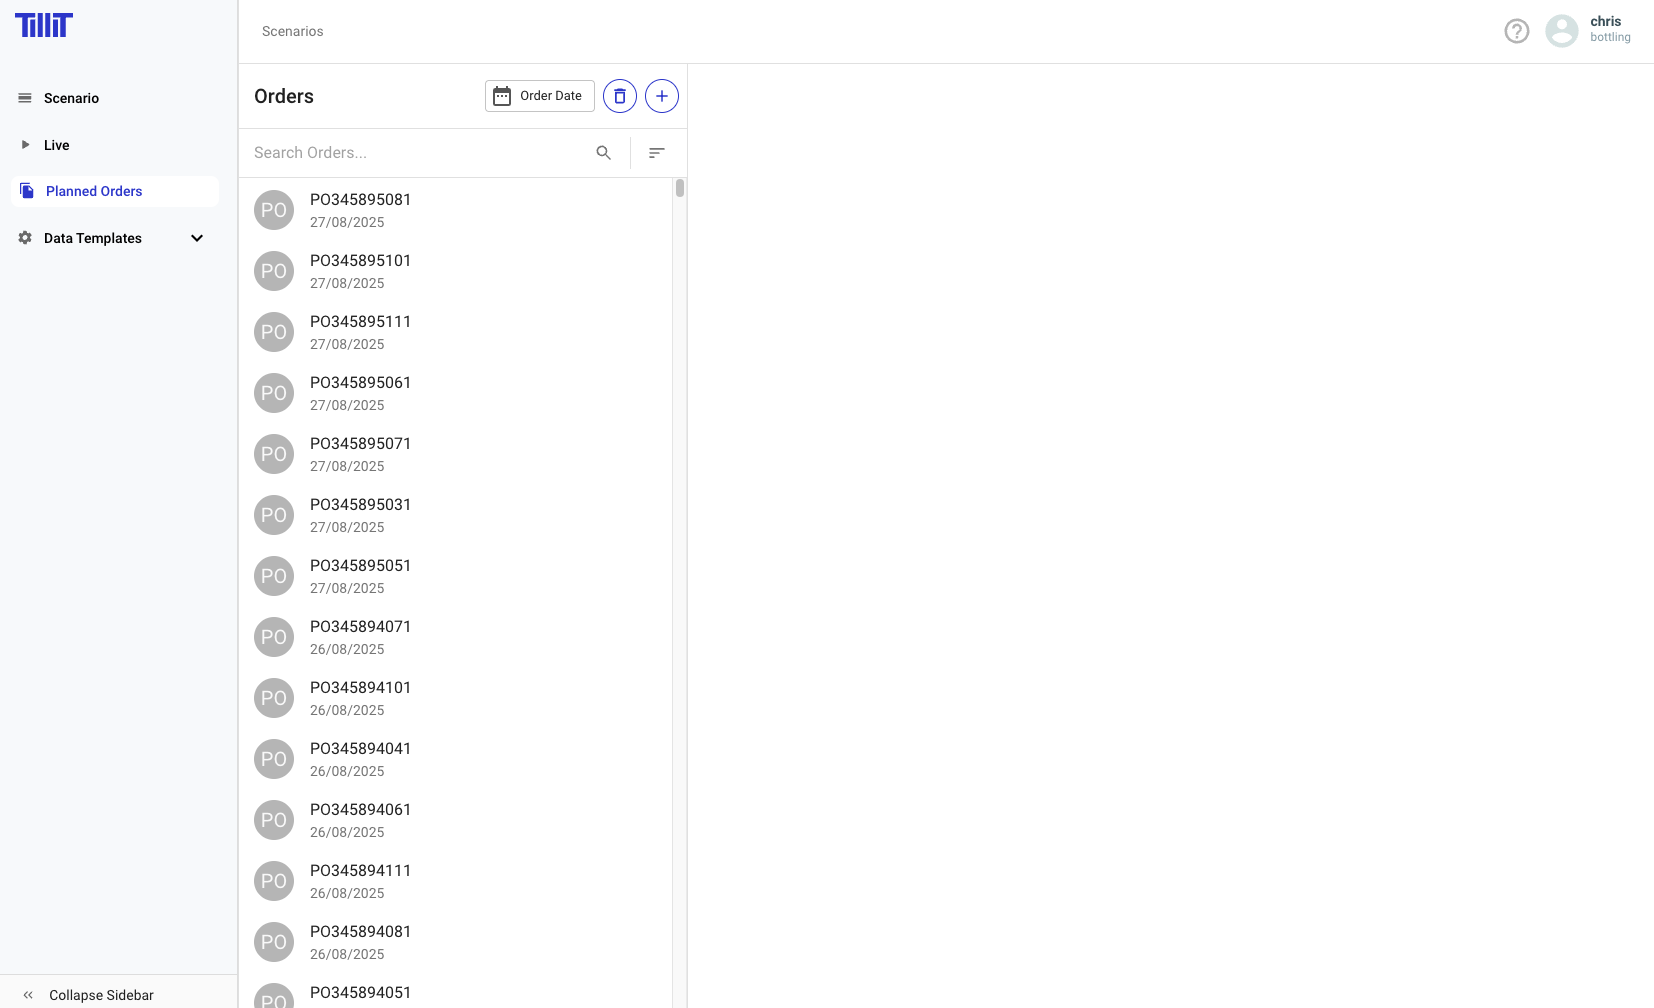
Planned Orders is where all production orders are created, managed, and prepared for scheduling. Orders can be managed through the built-in interface or imported using the TilliT Excel Add-in.
## Navigation
***Scheduler*** > ***Planned Orders***
## Order Fields
| Field | Description |
| ---------------------------- | --------------------------------------------------------------------------------------------------------------------- |
| **Operation Code** | The code for the operation the order relates to. This could be a product, SKU, task, or any item requiring scheduling |
| **Order Code** | The unique order code |
| **Due Date** | The date the order is due |
| **Earliest Start Date** | The earliest date the order can start |
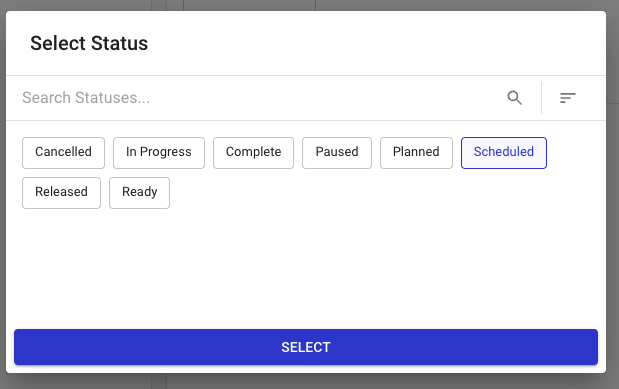
| **Status** | Planned, Released, Scheduled, In Progress, Complete, or Cancelled |
| **Priority** | Low, Medium, or High |
| **Quantity** | The quantity of the order |
| **Quantity Unit of Measure** | The units of measure for the quantity |
| **Percent Complete** | The percentage complete if the order is in progress |
| **Order Properties** | Custom properties — the column header can be given any title and the values are free text |
## Creating an Order
{% stepper %}
{% step %}
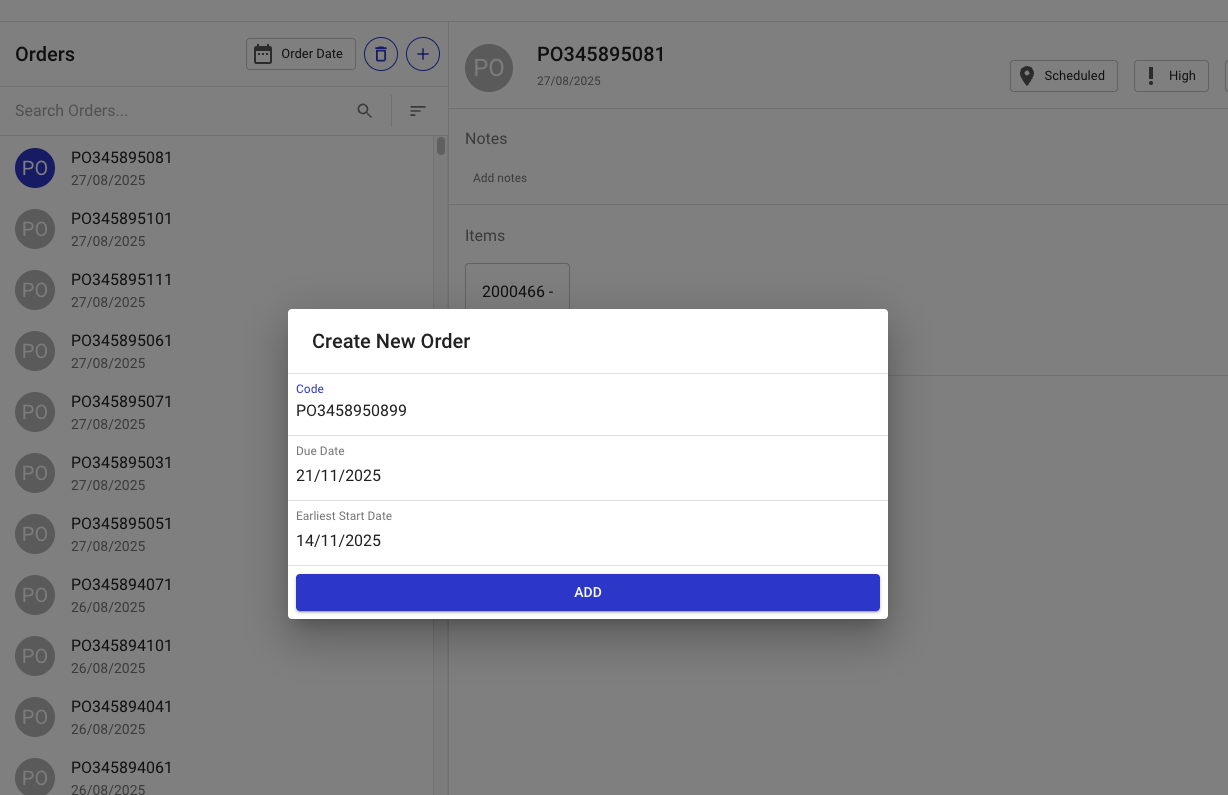
Click the **+** button at the top of the orders list.
{% endstep %}
{% step %}
Fill in the order details.
{% endstep %}
{% endstepper %}
### Adding Order Items
{% stepper %}
{% step %}
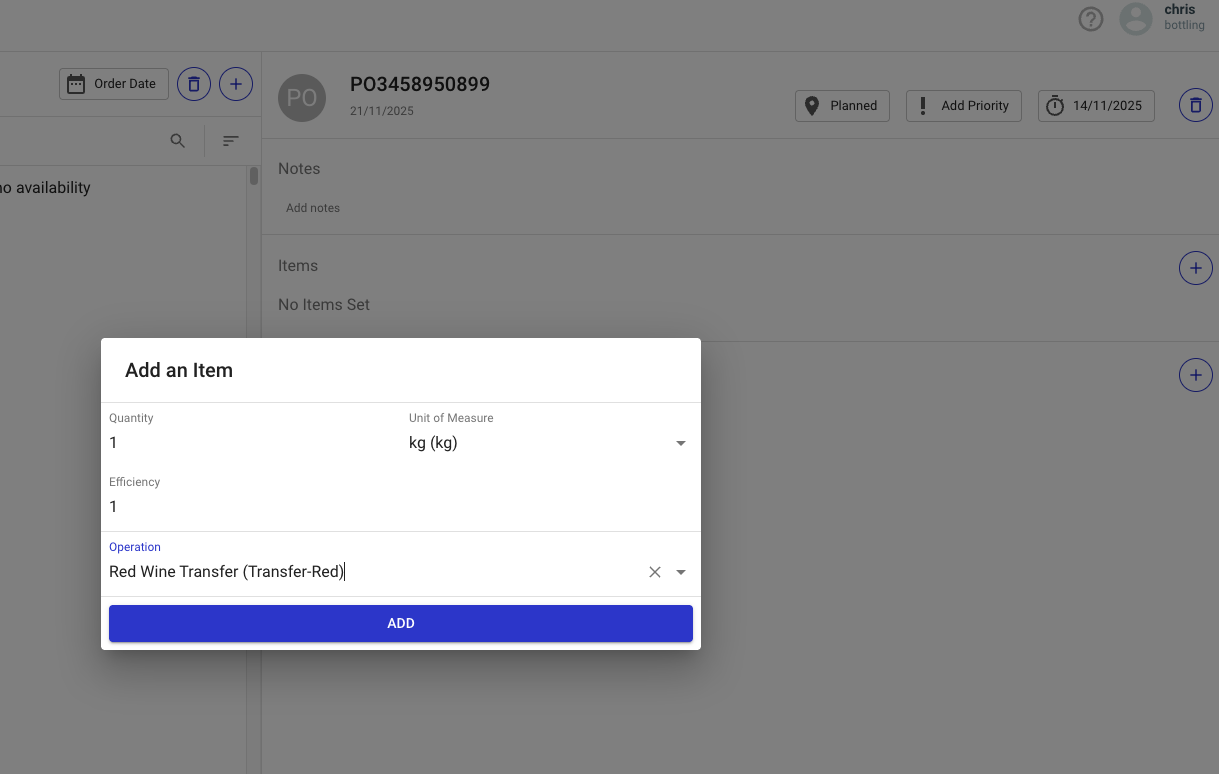
Click the **+** button in the **Items** section.
{% endstep %}
{% step %}
Fill in the item details in the modal.
| Field | Description |
| ------------------- | -------------------------------------------------------------------------------------------------------------------------------- |
| **Quantity** | Quantity to be produced by the order item |
| **Unit of Measure** | Unit of measurement for this order item |
| **Efficiency** | Default is 1 (100% efficiency). Less than 1 (e.g. 0.5) doubles the order duration. Greater than 1 (e.g. 1.25) shortens it by 25% |
| **Operation** | Choose the operation from the dropdown (predictive search available) |
{% endstep %}
{% endstepper %}
### Setting Order Status
All orders start with a **Planned** status. Click on the status indicator to change it.
### Setting Order Priority
Click **Add Priority** to assign a priority level (Low, Medium, or High) to the order.
### Adding Orders to a Scenario
{% hint style="warning" %}
You must create a scenario first before adding orders to it. See [Scenarios](/tillit/knowledge-base/scheduler/scenario.md).
{% endhint %}
{% stepper %}
{% step %}
Open a scenario from the Scenario Kanban board.
{% endstep %}
{% step %}
Click the **+** button at the top of the scheduler to open the Orders Store.
{% endstep %}
{% step %}
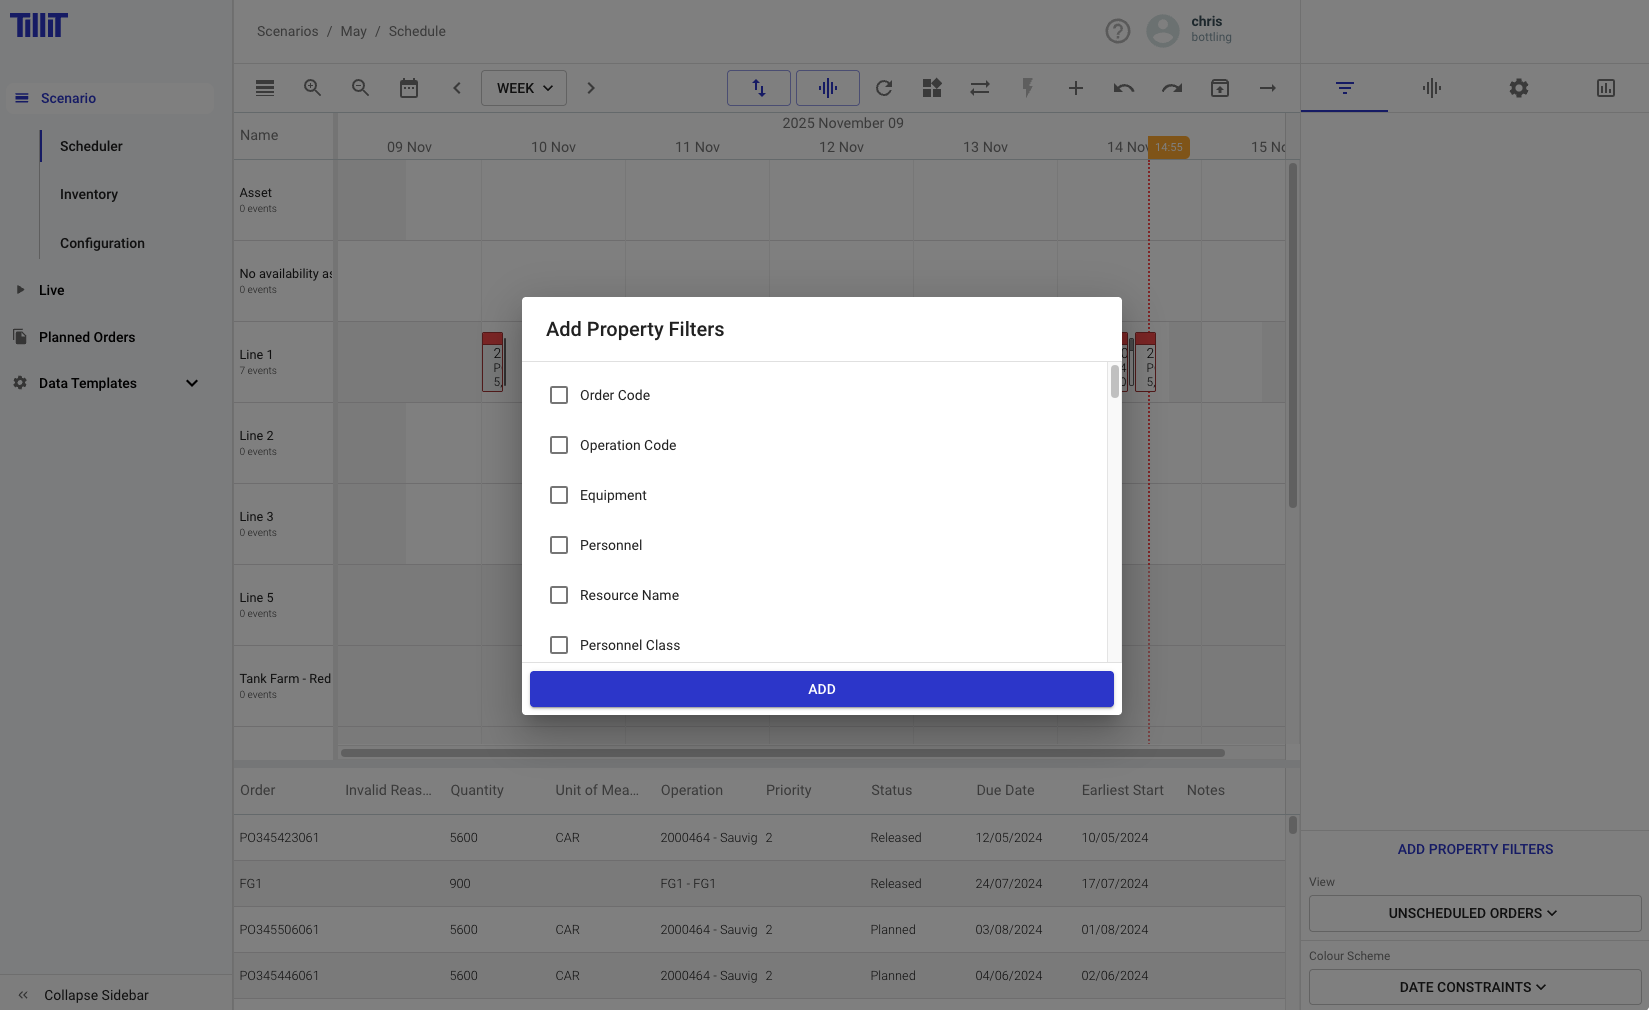
Use **Add Property Filters** to filter by due date range, order status, priority, or other attributes.
{% endstep %}
{% step %}
Select the required orders and click **Add**.
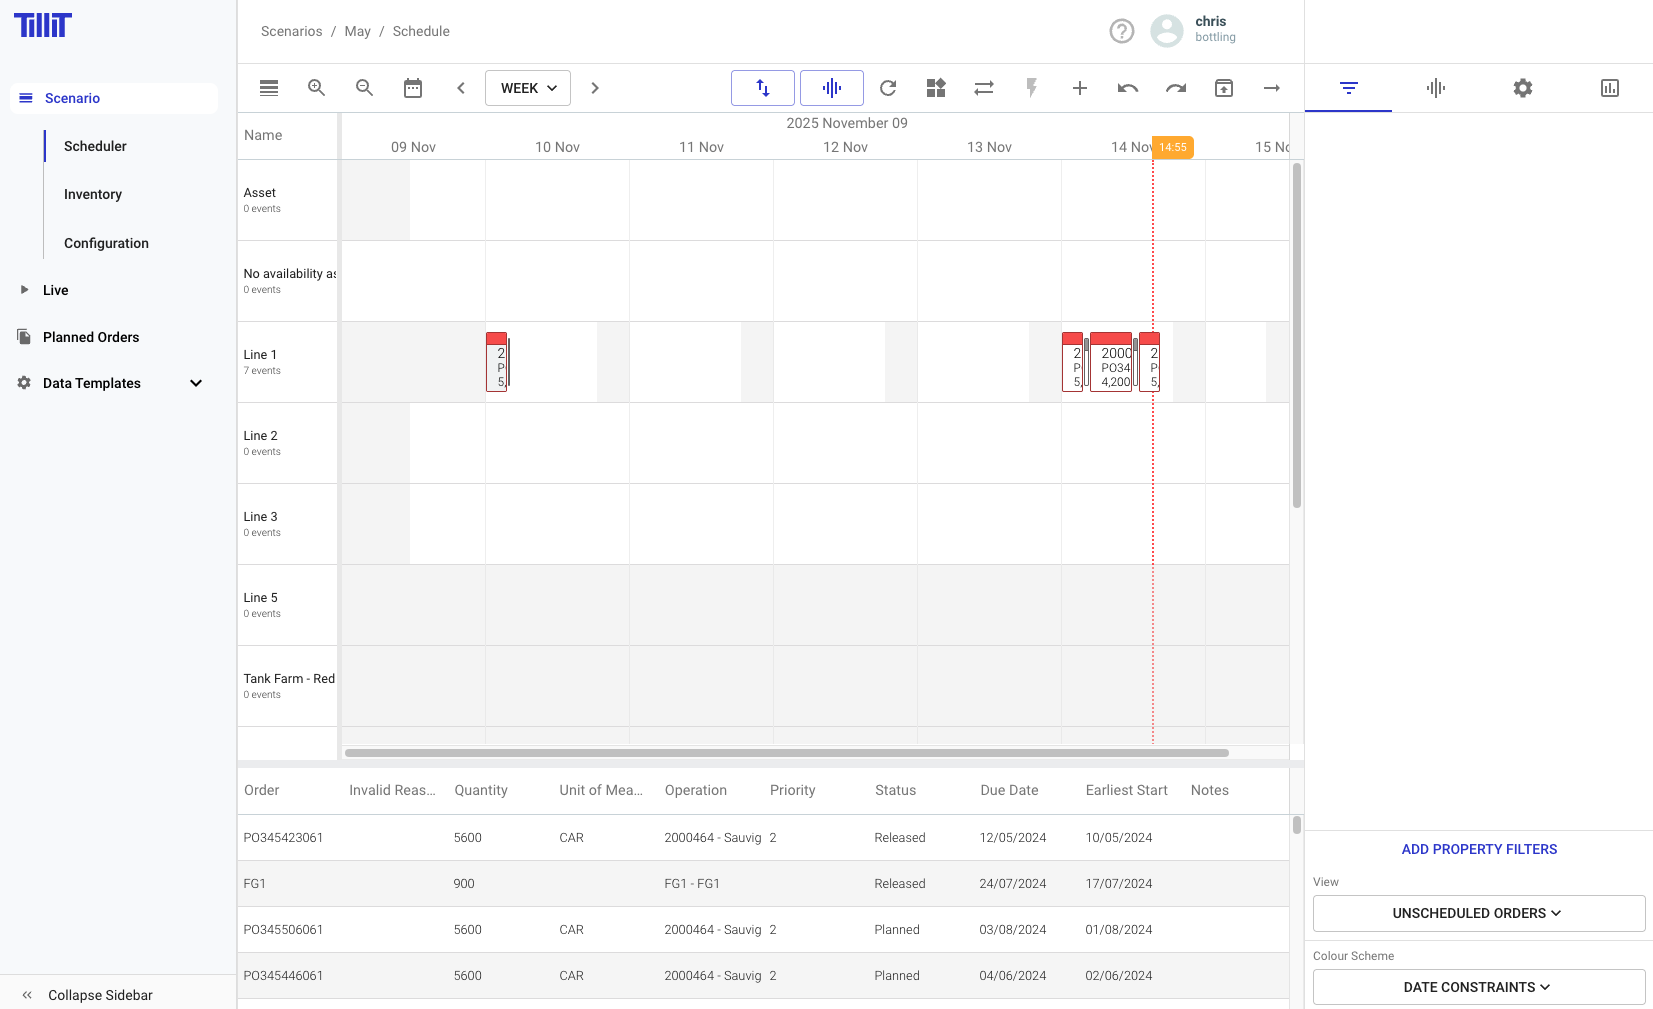
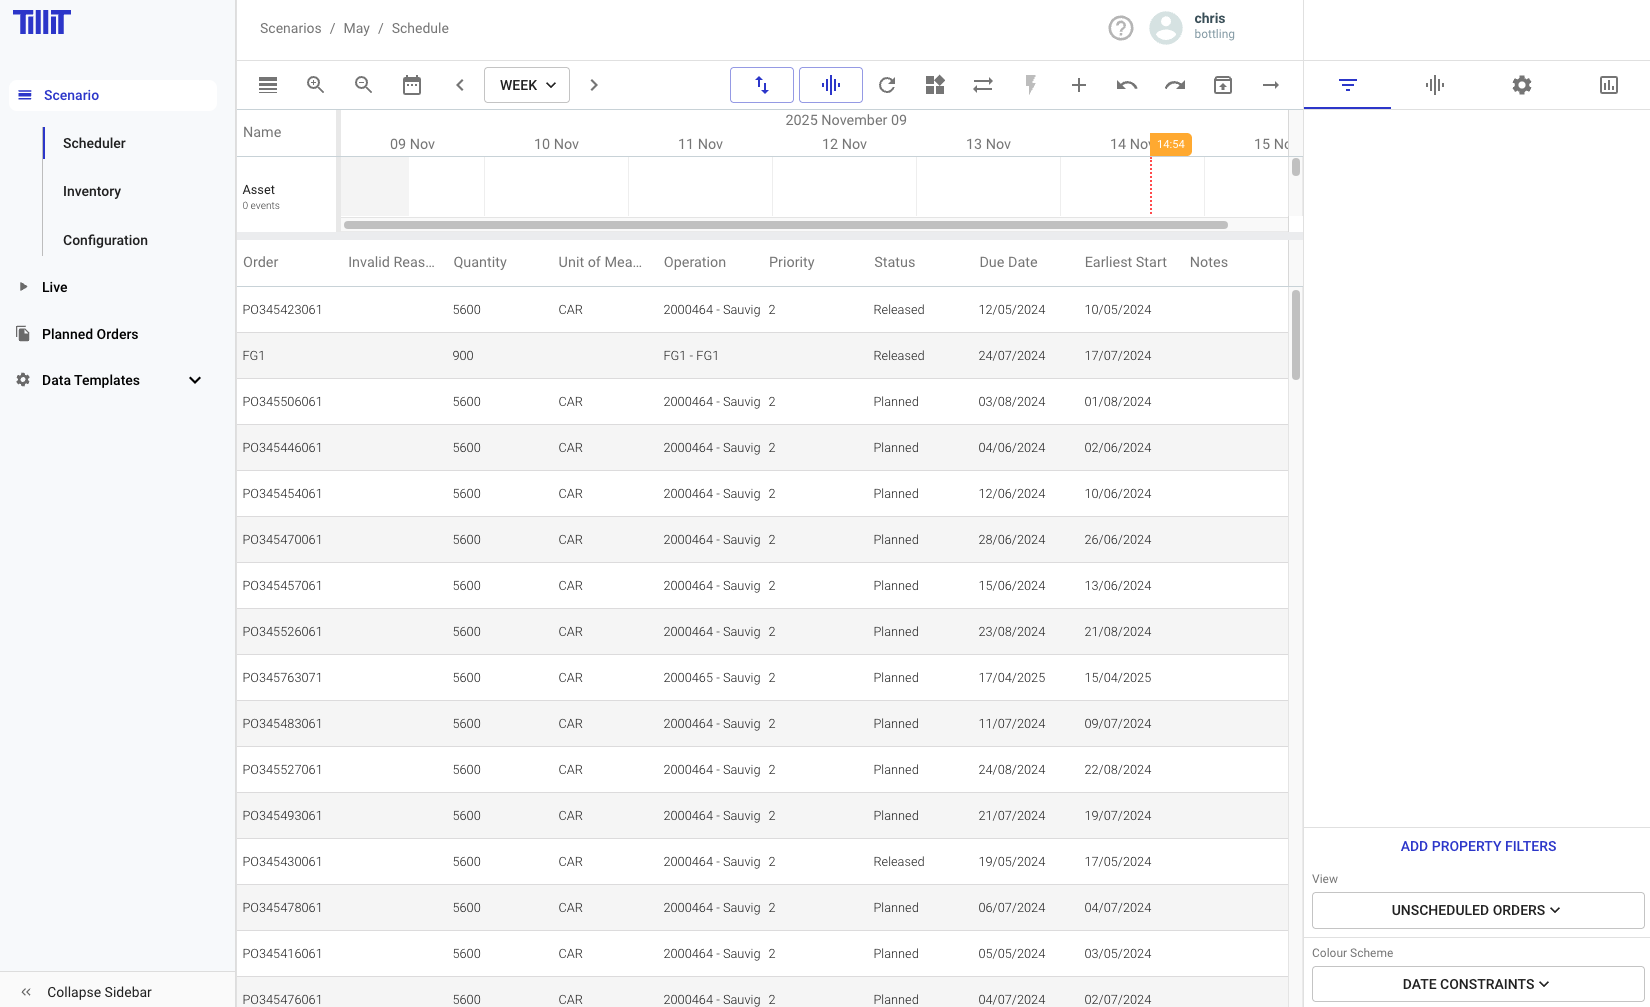
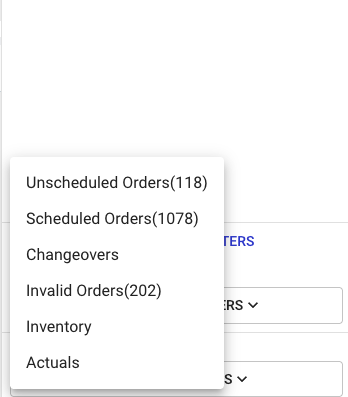
The selected orders appear in the **Unscheduled Orders** grid at the bottom of the scheduling dashboard.
{% endstep %}
{% endstepper %}
{% hint style="info" %}
Only orders that are new or have not been previously added to the scenario are visible in the Orders Store.
{% endhint %}