> For the complete documentation index, see [llms.txt](https://help.tillit.cloud/tillit/llms.txt). Markdown versions of documentation pages are available by appending `.md` to page URLs; this page is available as [Markdown](https://help.tillit.cloud/tillit/knowledge-base/scheduler/data-templates/personnel.md).
# Personnel
Configure personnel, classes, availability, and downtime for scheduling.
The Personnel section stores and maintains all human resources that need to be scheduled or are required to perform operations and tasks.
## Navigation
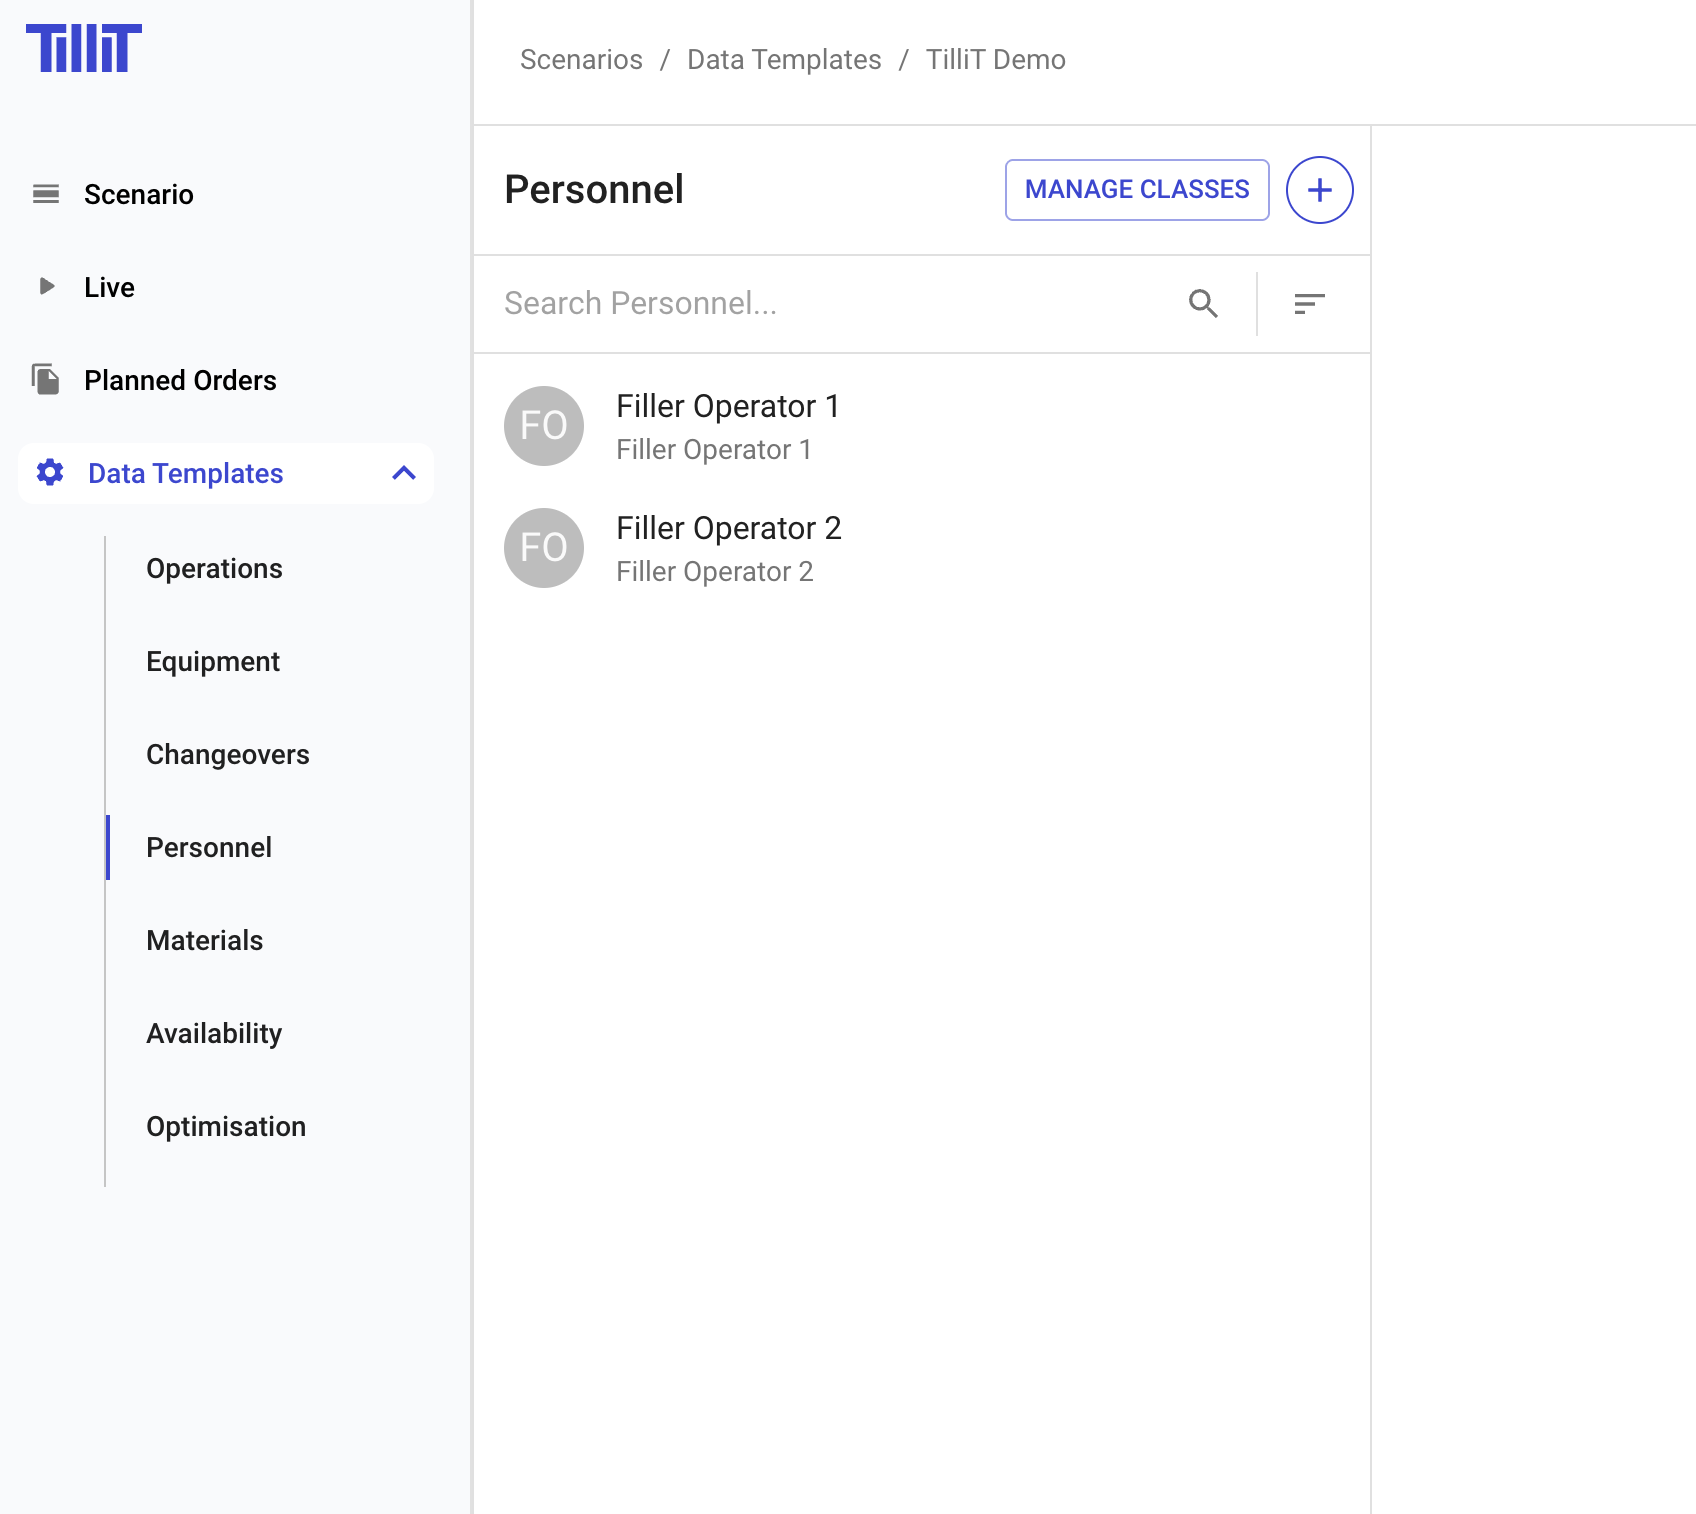
***Scheduler*** > ***Data Templates*** > select a template > ***Personnel***
## Personnel Classes
Personnel Classes group people with similar capabilities so they can be assigned to operations interchangeably. During scheduling, the system selects any available person from the class to fulfil the requirement.
**Example:** Several operators hold "Senior Operator" certification and can operate the same machines. Assign them all to the "Senior Operator" class. The optimiser automatically selects the most appropriate available operator.
### Creating a Personnel Class
{% stepper %}
{% step %}
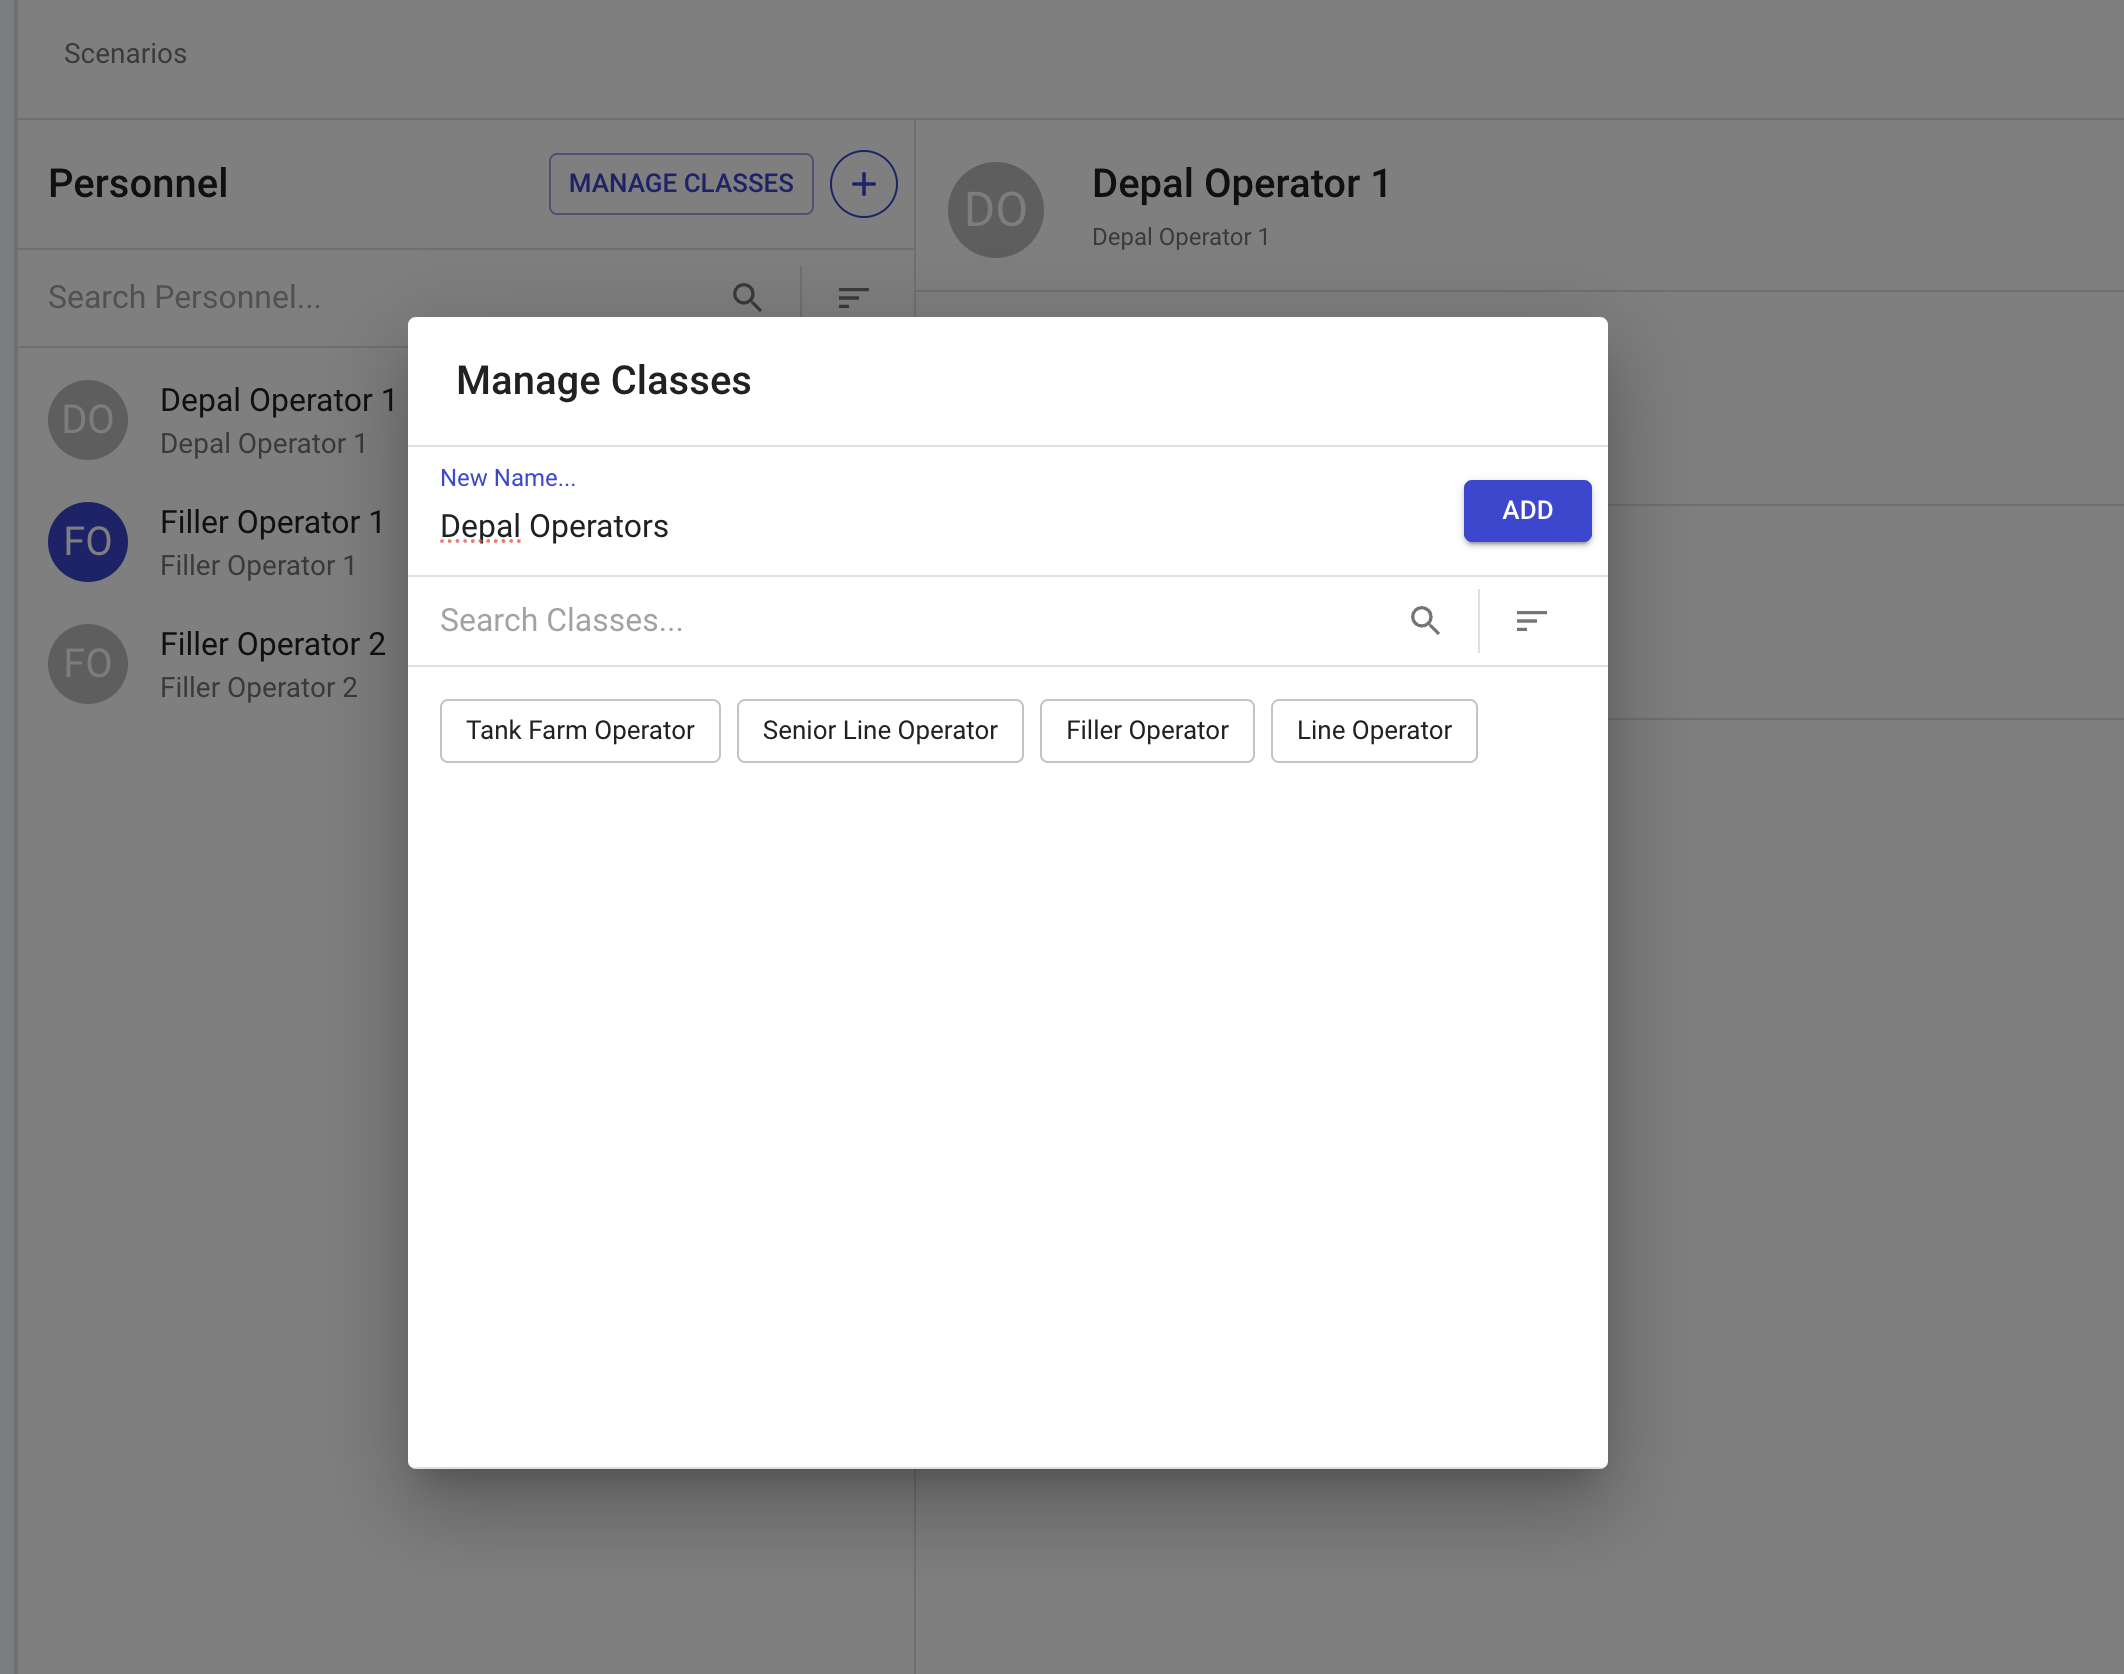
Click the **Manage Classes** icon.
{% endstep %}
{% step %}
Click **Add** and enter the **Code** and **Description**.
{% endstep %}
{% endstepper %}
## Creating Personnel
{% stepper %}
{% step %}
Click the **+** button at the top of the personnel list.
{% endstep %}
{% step %}
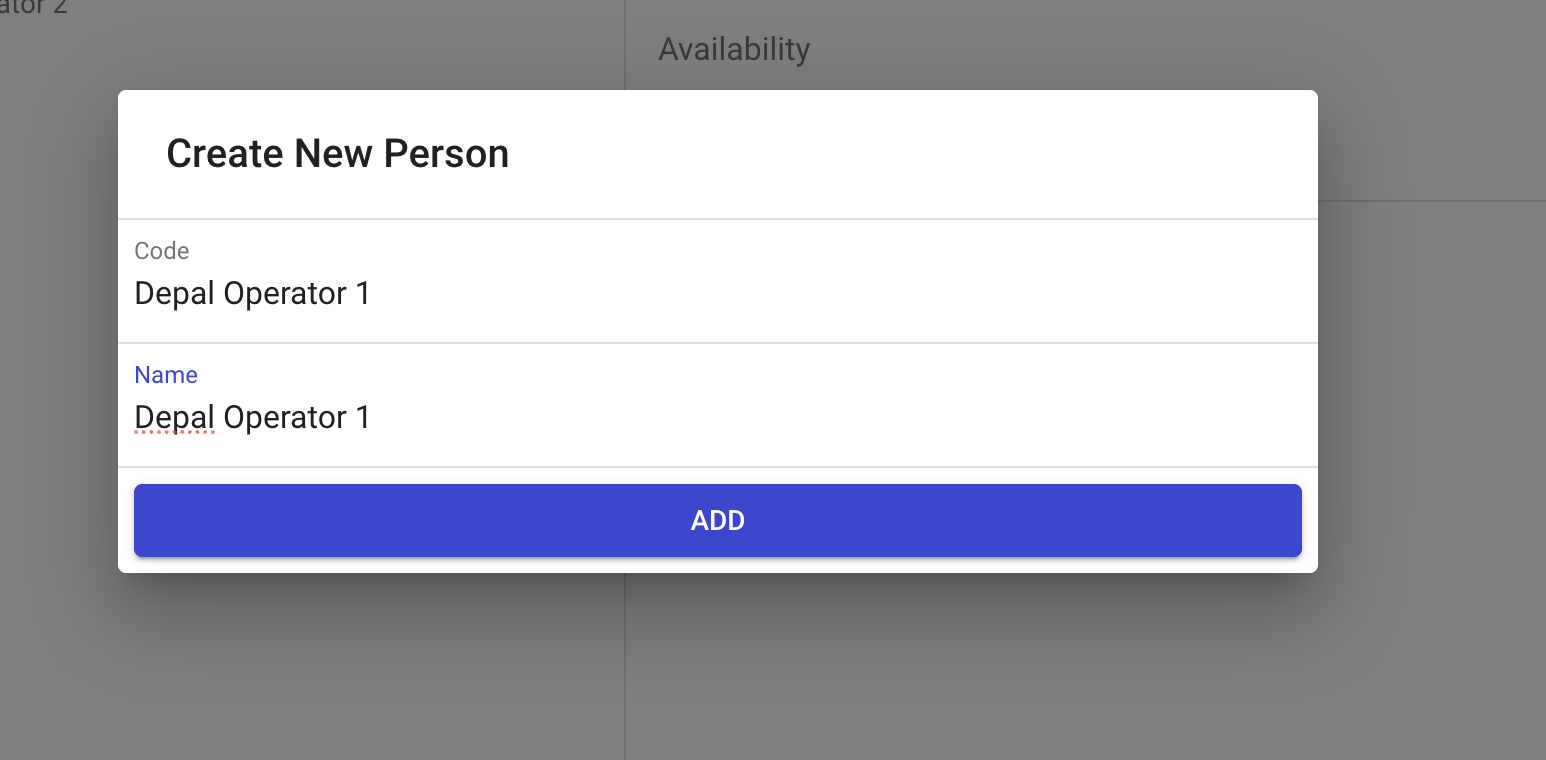
Enter the **Code** and **Name**.
{% endstep %}
{% endstepper %}
### Assigning Classes
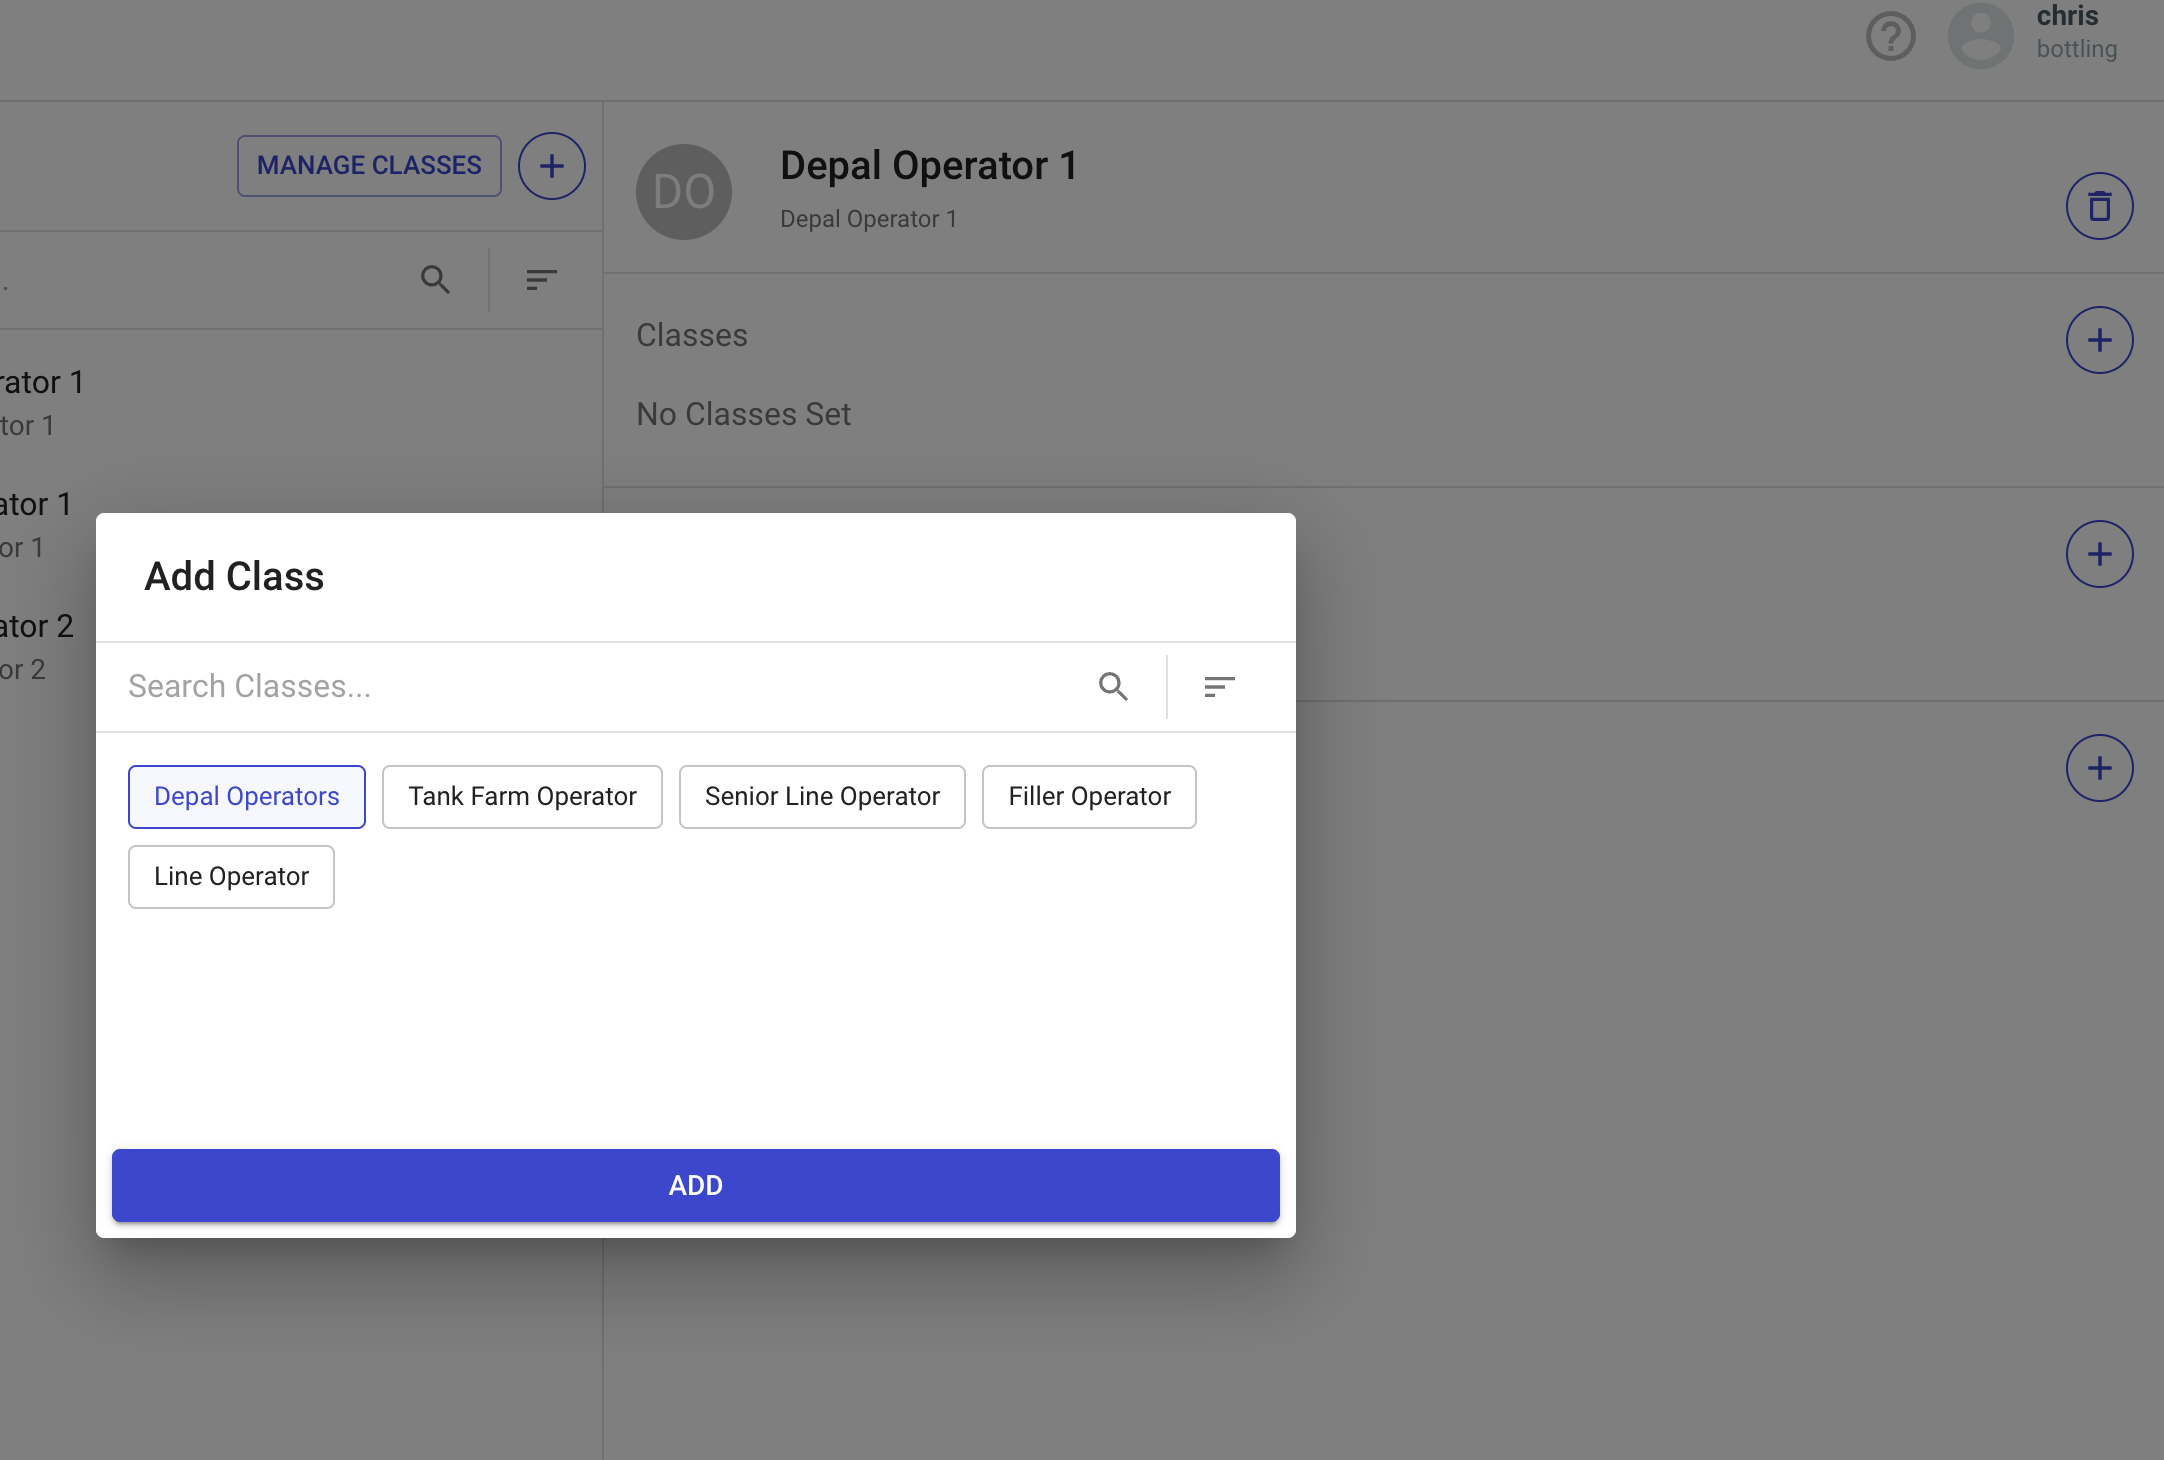
Apply one or more classes to each person by clicking the **+** button in the **Classes** section.
### Adding Availability
Apply availability templates to assign shift patterns:
{% stepper %}
{% step %}
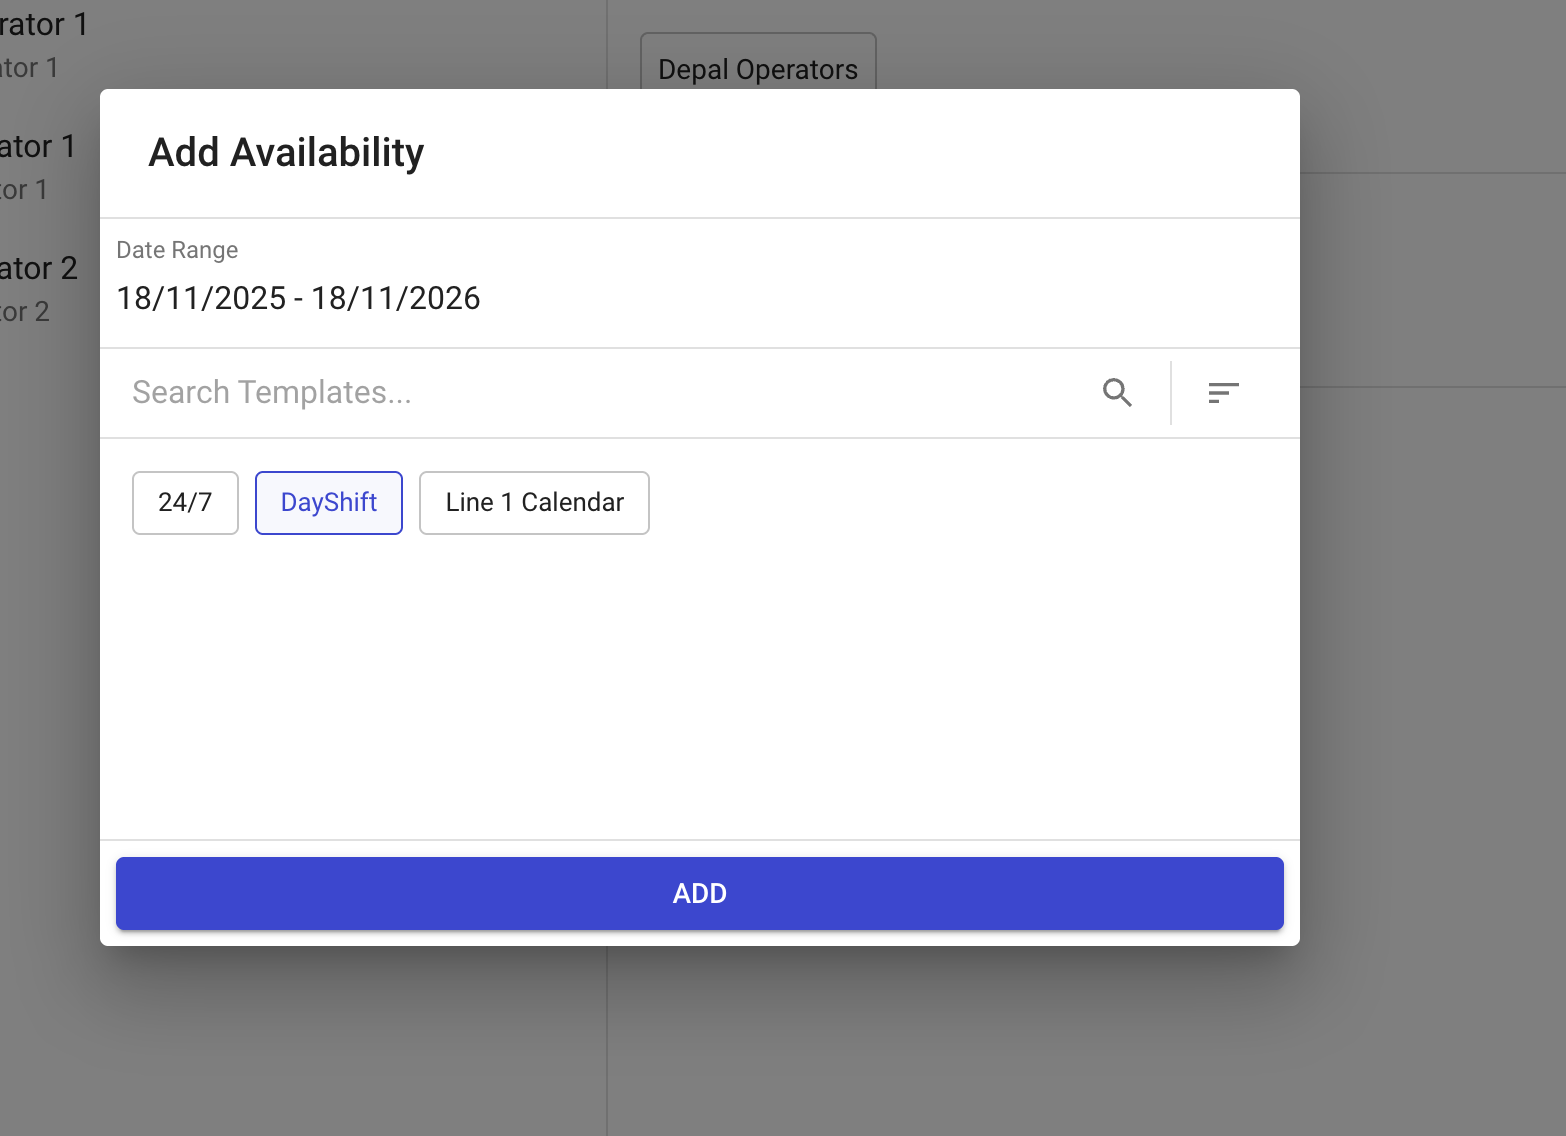
Click the **+** button in the **Availability** section.
{% endstep %}
{% step %}
Select an availability template and set the **Start Date** and **End Date**.
{% endstep %}
{% endstepper %}
A person can have different availability templates at different times — for example, a rotating roster moving from day shift to afternoon shift to night shift. Enter the start and end dates for each assignment.
### Adding a Downtime Period
Add leave, training, or other non-available periods:
{% stepper %}
{% step %}
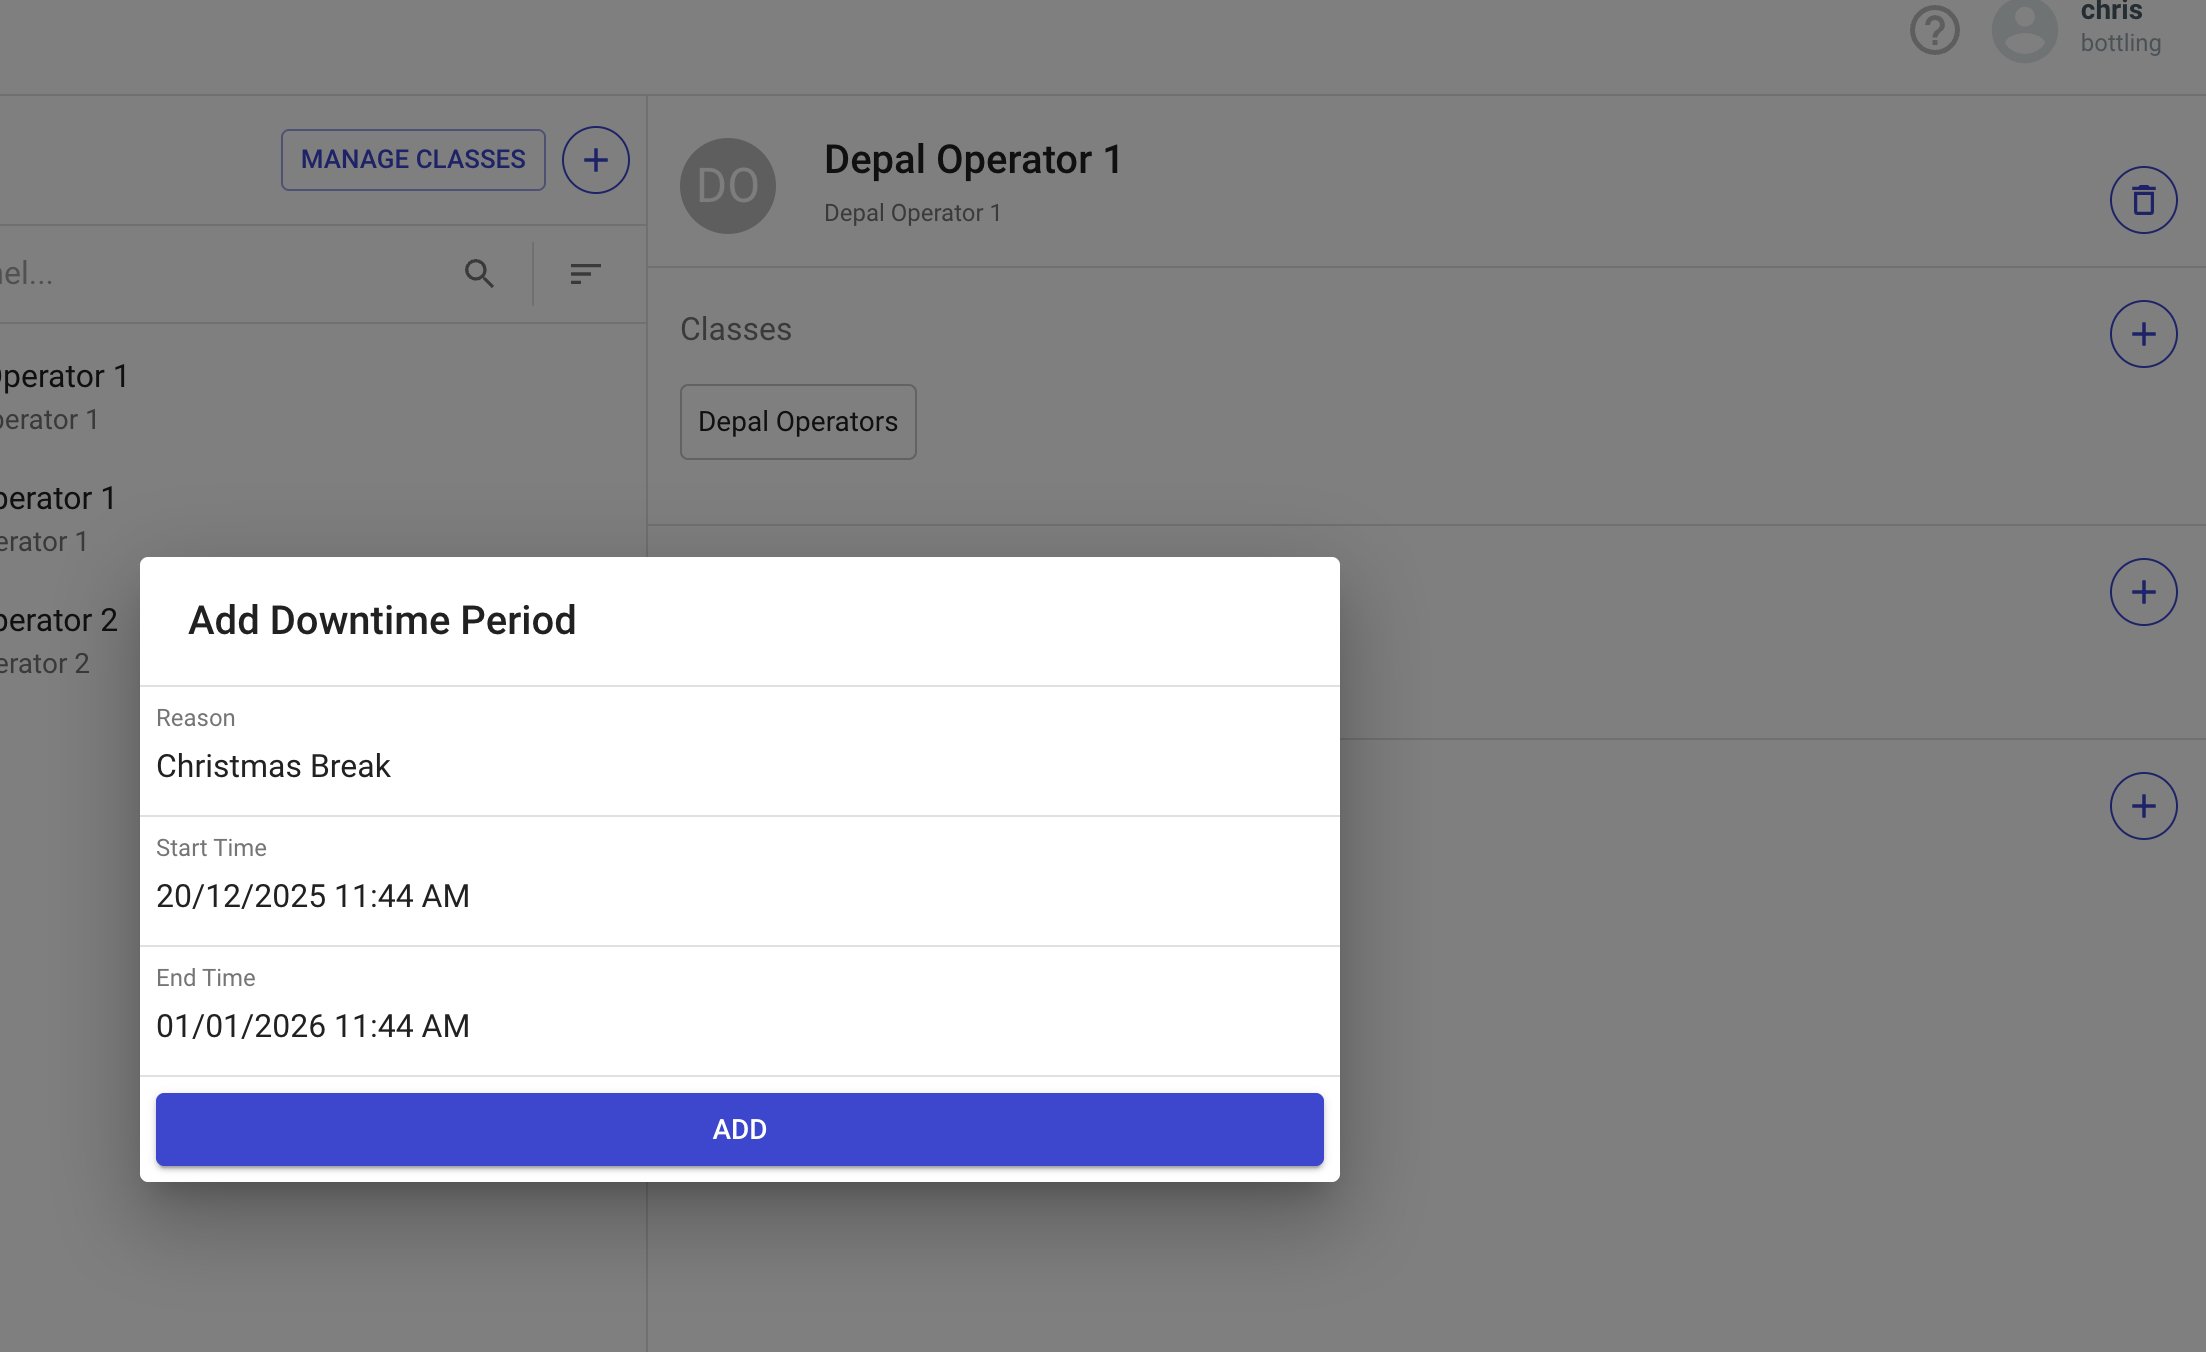
Click the **+** button in the **Downtime Periods** section.
{% endstep %}
{% step %}
Enter the reason and start/end timestamps.
{% endstep %}
{% endstepper %}